Architecture in Landscape: LIGHT TREE is about a creative solution for nighttime lighting around a custom house.
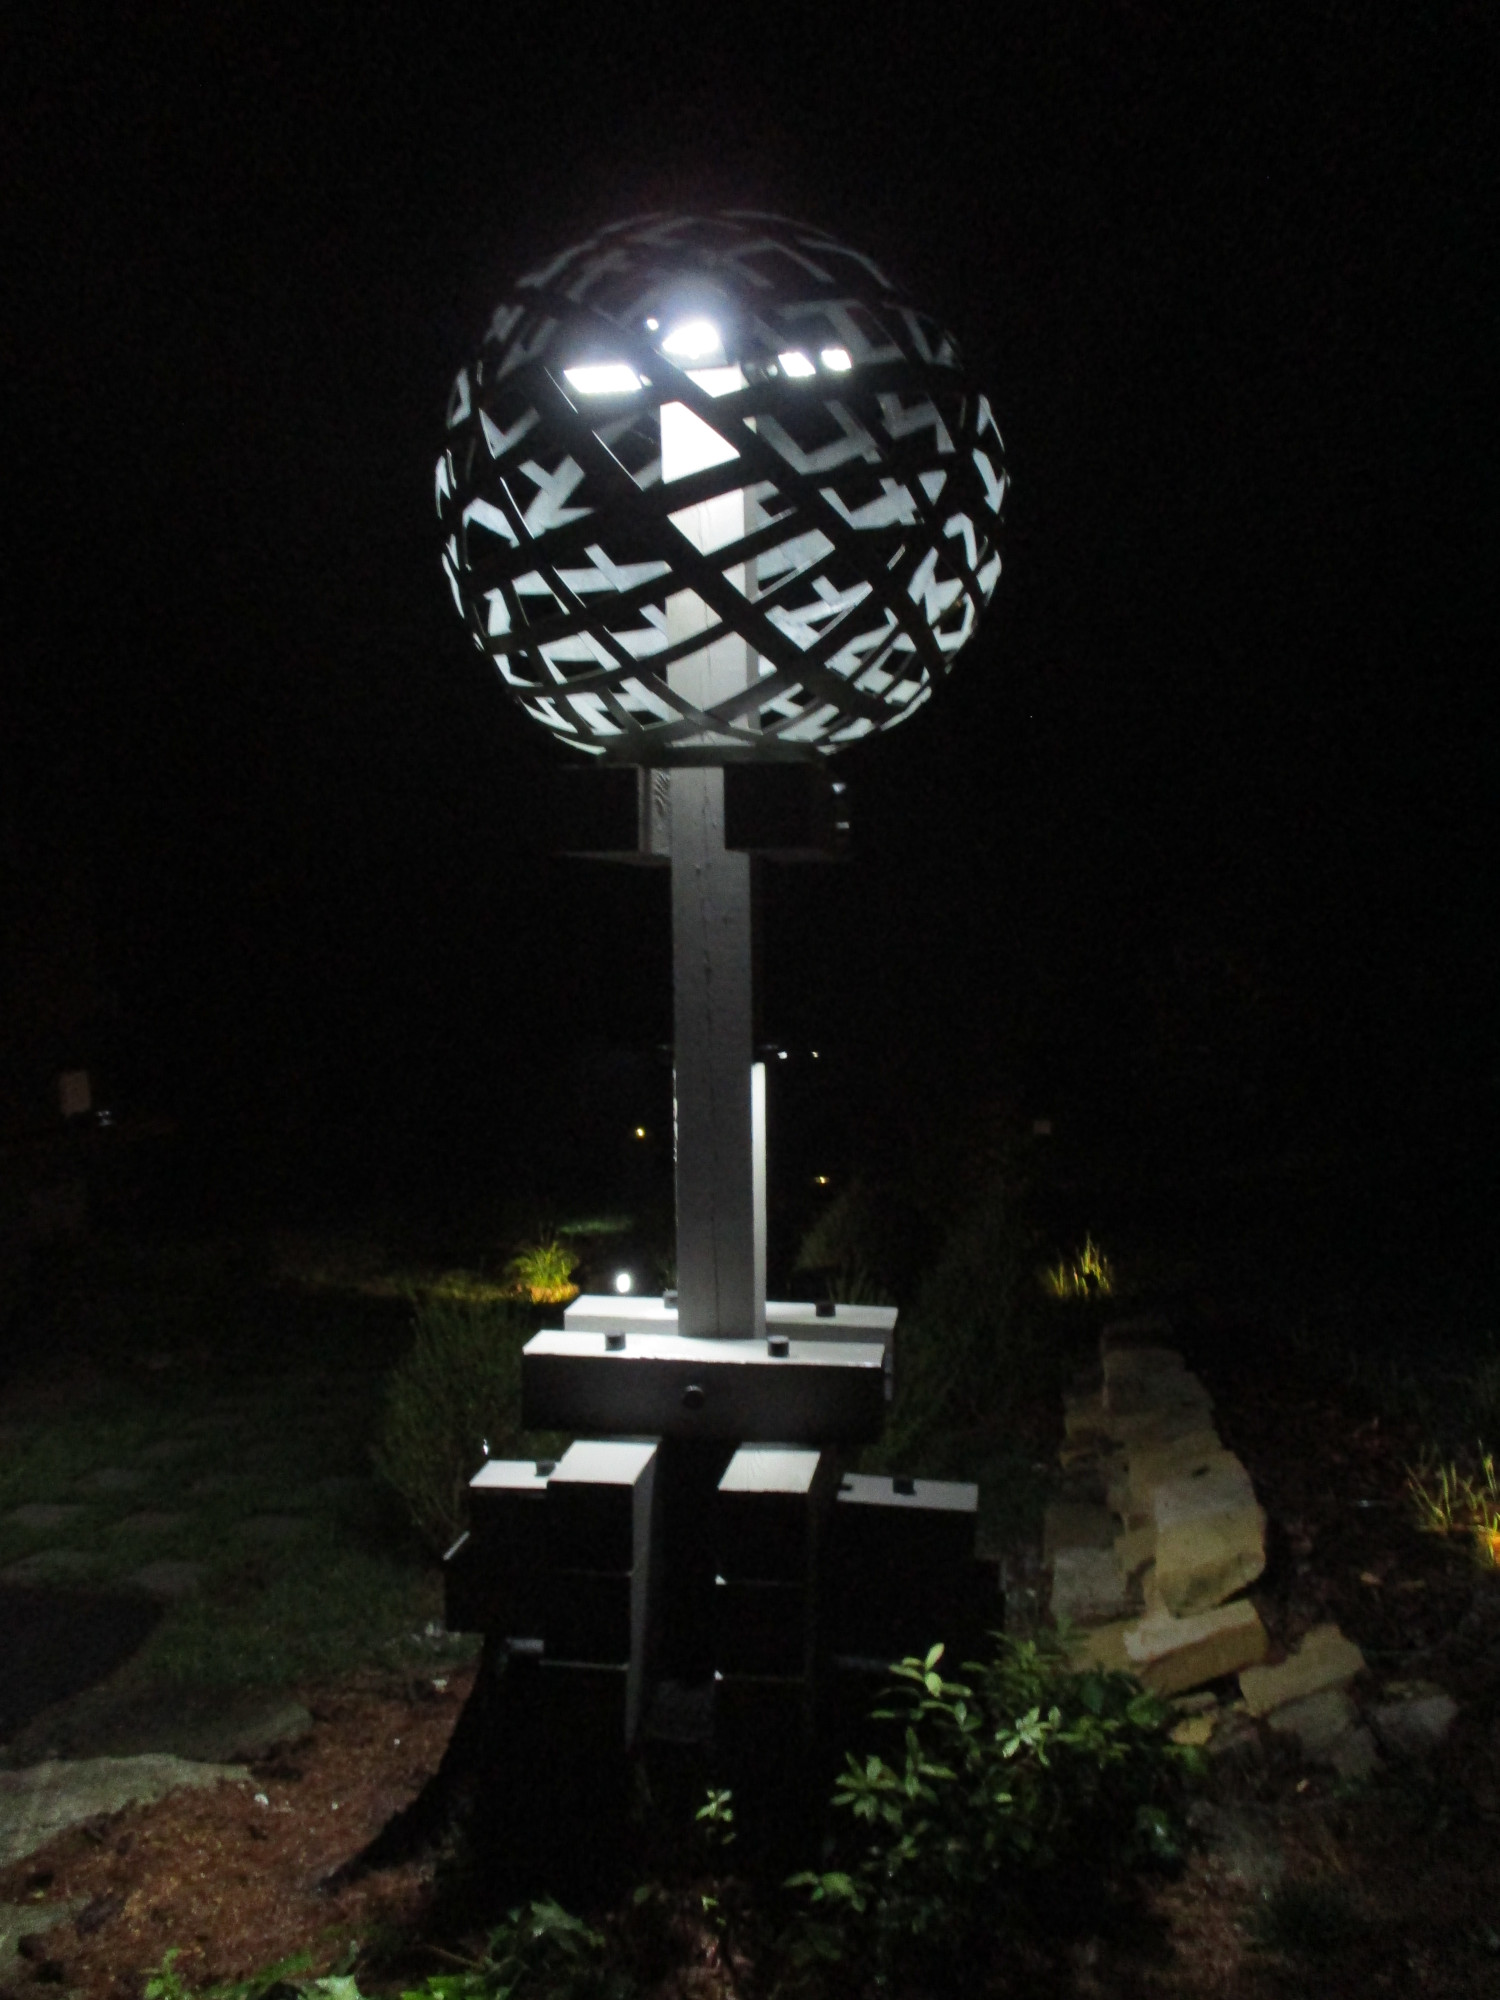
HOME ARCHITECTS ® designed (and built) this one-of-a-kind light pole for one of their projects in the western North Carolina region (Sapphire-Cashiers). They accomplished this on top of a new stump, after taking steps to preserve the stump for years to come.
The Architect started with a newly cut stump from a 100′ tall pine tree. The stump top is about 36″ in diameter.
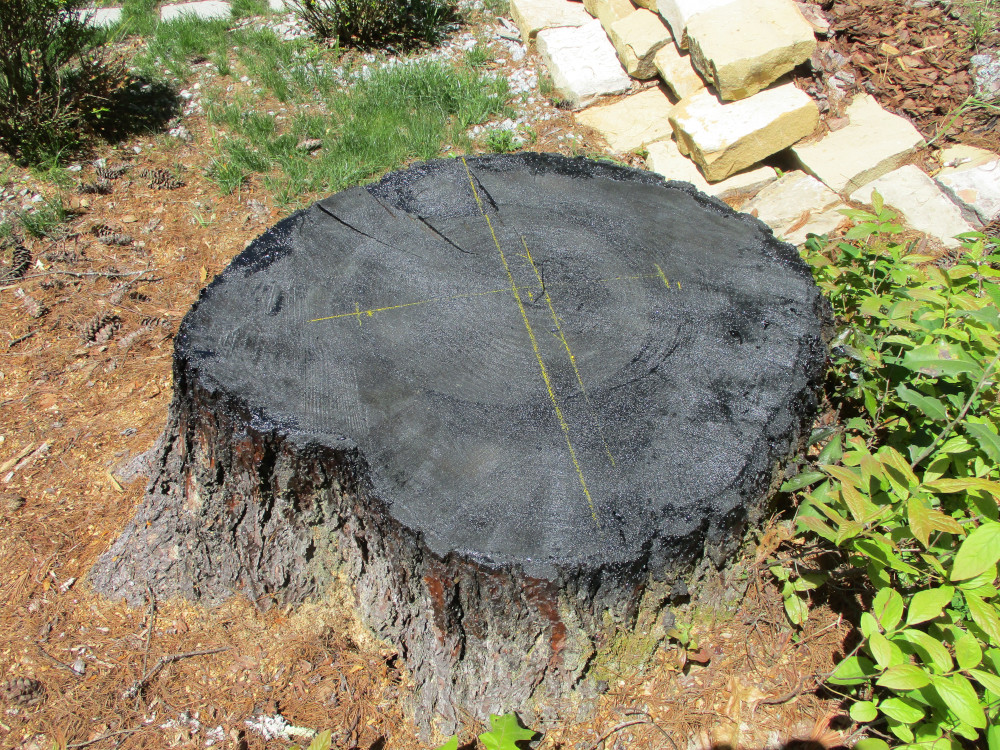
The Architect sealed the top of the stump first with polyurethane, including coming down a couple of inches vertically.
Then, after curing a week, the stump top was sprayed with Rust-Oleum gloss black spray paint. Surprisingly, the spray paint stuck and appeared to offer some additional sealing. The quarterly pest control company will be asked to inject their spray nozzle into the ground around the stump once every few months, in a effort to preserve it as long as possible. No doubt this will be a losing battle, so perhaps in 15 years or so, this stump will likely rot into mush. Before that, the light tree will need to be removed and relocated onto a concrete foundation. Monitoring for safety is essential.
The Architect created a sketch to guide the construction and give vision to the mini-project.

Then the Architect had some leftover PT 6×6 timbers (free) from another outdoor project nearby, which were cut using a new DeWalt 12″ blade compound miter chop saw (Lowes $399 before tax). An excellent tool. Be careful.
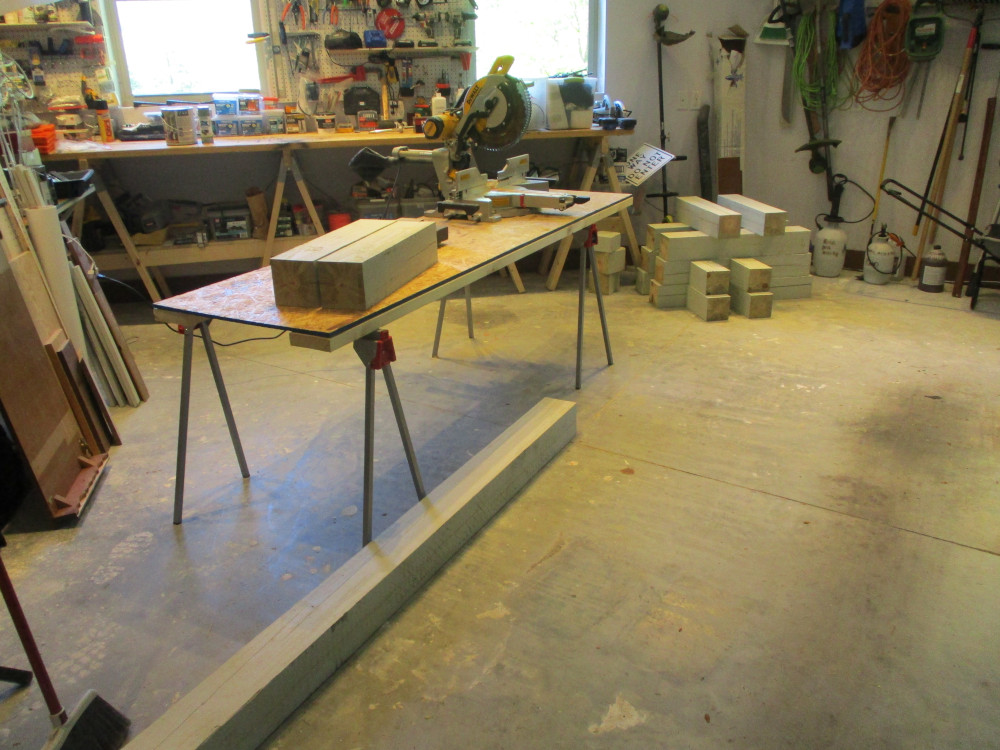

Then stained with a Zar exterior solid latex stain ($45 Jennings), which, for all purposes appears as paint (although never will any sanding be required for new fresh coats). Fortunately, the timbers already had a couple of coats of exterior stain on them, making the new stain a fast application.
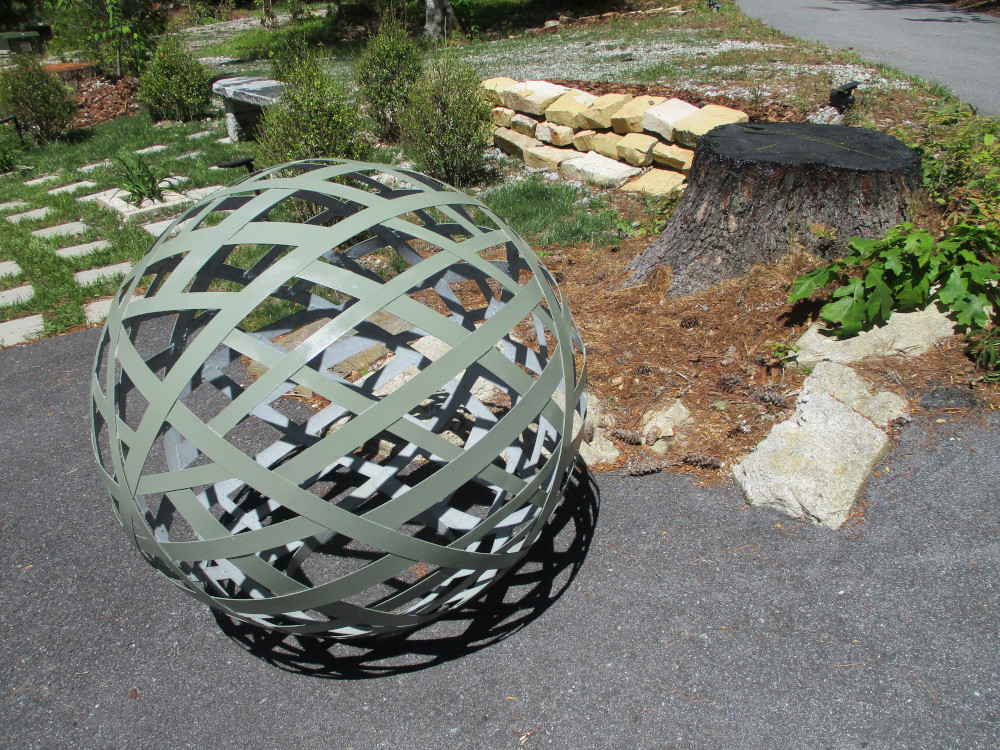
There was a 38″ diameter landscaping metal zinc strap sphere. About $400 Chattooga Gardens. Architect spray painted sage green using Rust-Oleum ($9).
Why: this LIGHT SPHERE is an abstract new tree to be built on top of the stump of a freshly cut organic tree. The sphere represents the leaves/tree canopy. The support timbers (stained gray) represent the tree trunk.
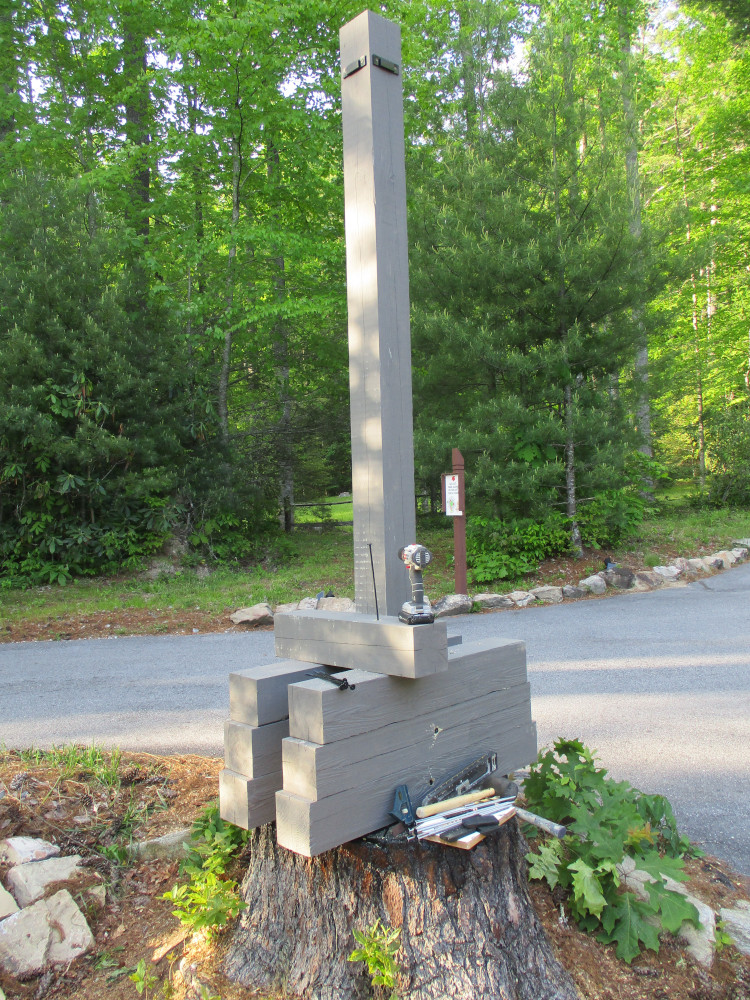
Mounting and erection of the light tree timbers. Note that the solar light mounting brackets were installed in the workshop before tackling the erection of the post. Do as much of the work from ground level as possible.

14″ long structural outdoor timber screws were used to secure the base timbers to the stump. Also, PT wood shims were carefully sliced off scrap wood and spray painted black to help level the base timbers. 10″ timber screws were used to secure the vertical post to the timber base. All timber screw heads received an extra coat of gloss black Rust-Oleum spray paint the day before being installed, to provide some additional corrosion resistance. Note: a 10″ long 3/16″ diameter drill bit was used before attempting to install every timber screw. Otherwise, they would not have gone in all the way. The drill bit was run into and out of each hole about 6x before attempting the screw insertions.
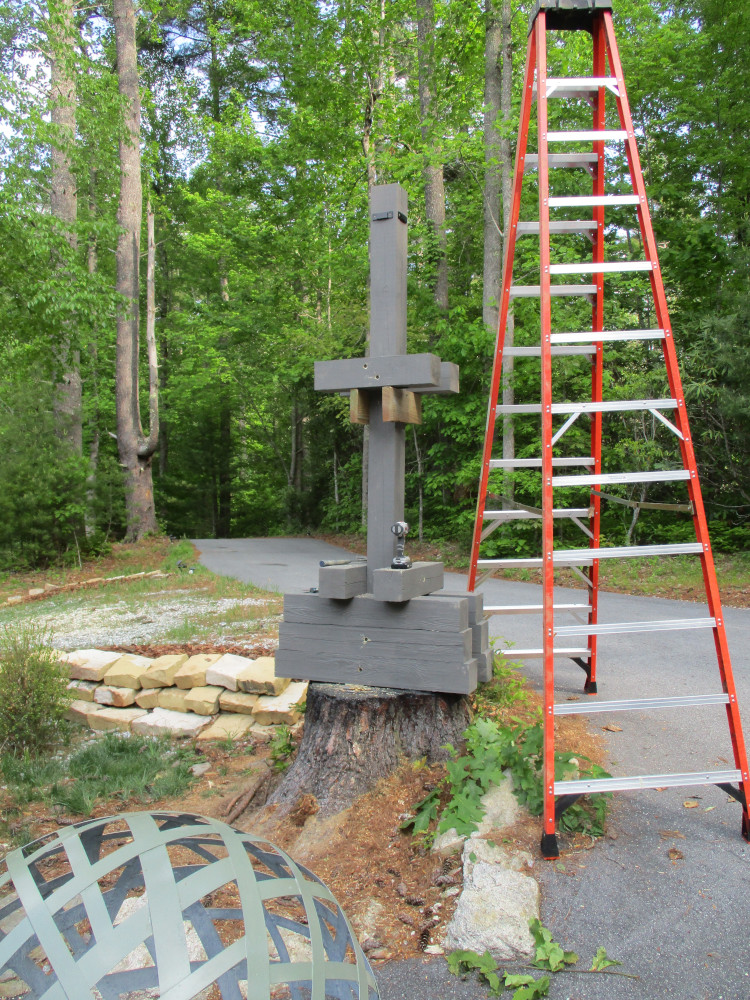
Now, for the upper timbers, installed using a tall step ladder and from the ground. Note the temporary rough 2×6 scrap members that served to hold the upper timbers in place while bolting the timbers to the center support post and mounting the sphere.
A 12′ tall step ladder was placed next to the developing light tree, to provide a stable means to hoist up the rather heavy metal sphere using one hand/arm up over the top of the light tree center post. This should have had at least 2 strong people doing this. See next photo:
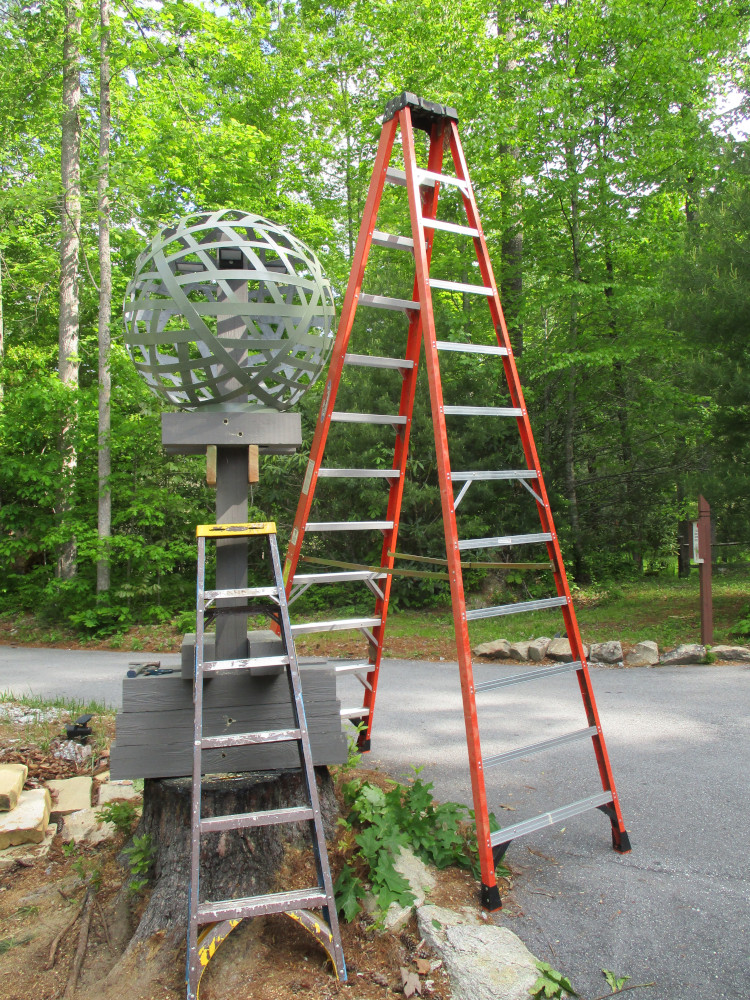
That sphere weighs around 50 pounds. A challenge for one arm, going up a tall ladder. Not recommended.
The solar lights were installed to their mounting brackets by sliding an arm through the zinc sphere band straps (kind of a tight fit), then slowly slipping the lights down over the brackets until properly seated. Although the metal straps of the sphere do block some of the light during the day, enough sun gets through (the sun moves), to allow for charging of the lights. And this method of light mounting looks professional and architectural (much better than wiring the lights onto the exterior of the sphere).
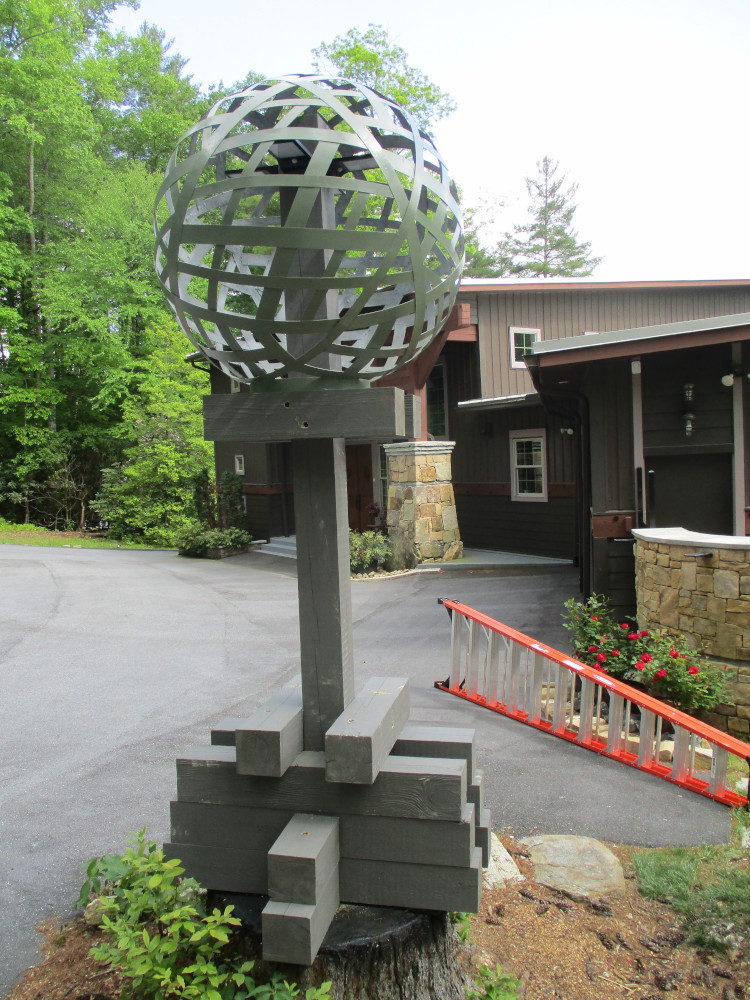
Here, the not quite finished Light Tree, with the heads of the timber screws still visible. And the timbers got a little scuffed during erection.
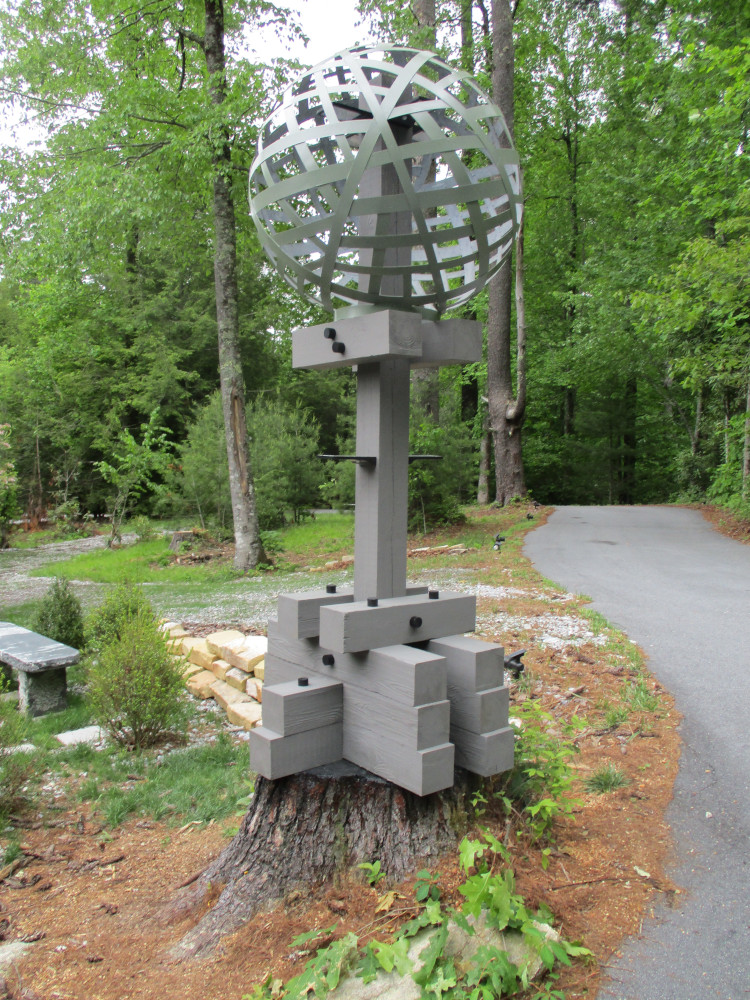
Next, the light tree timbers were given another coat of gray stain. Then, after drying for most of the day, black painted wooden dowels were glued over the screw heads using Lexel clear sealant. Most people would regard this as fine timber framing detailing. Certainly can’t tell the difference. And the result is classy yard art (designed and built by the Architect) that provides pleasant solar light for free, every night. Solar lights used were between $10 and $19 each (Amazon). 6 total lights used.
Architecture in Landscape: LIGHT TREE
