Garage Shelving is about this Architectural company designing, detailing and coordinating shelving being fabricated and installed for a garage in a custom mountain house.
You’d think it’s easy and simple. Well, there’s quite a bit to doing it correctly.
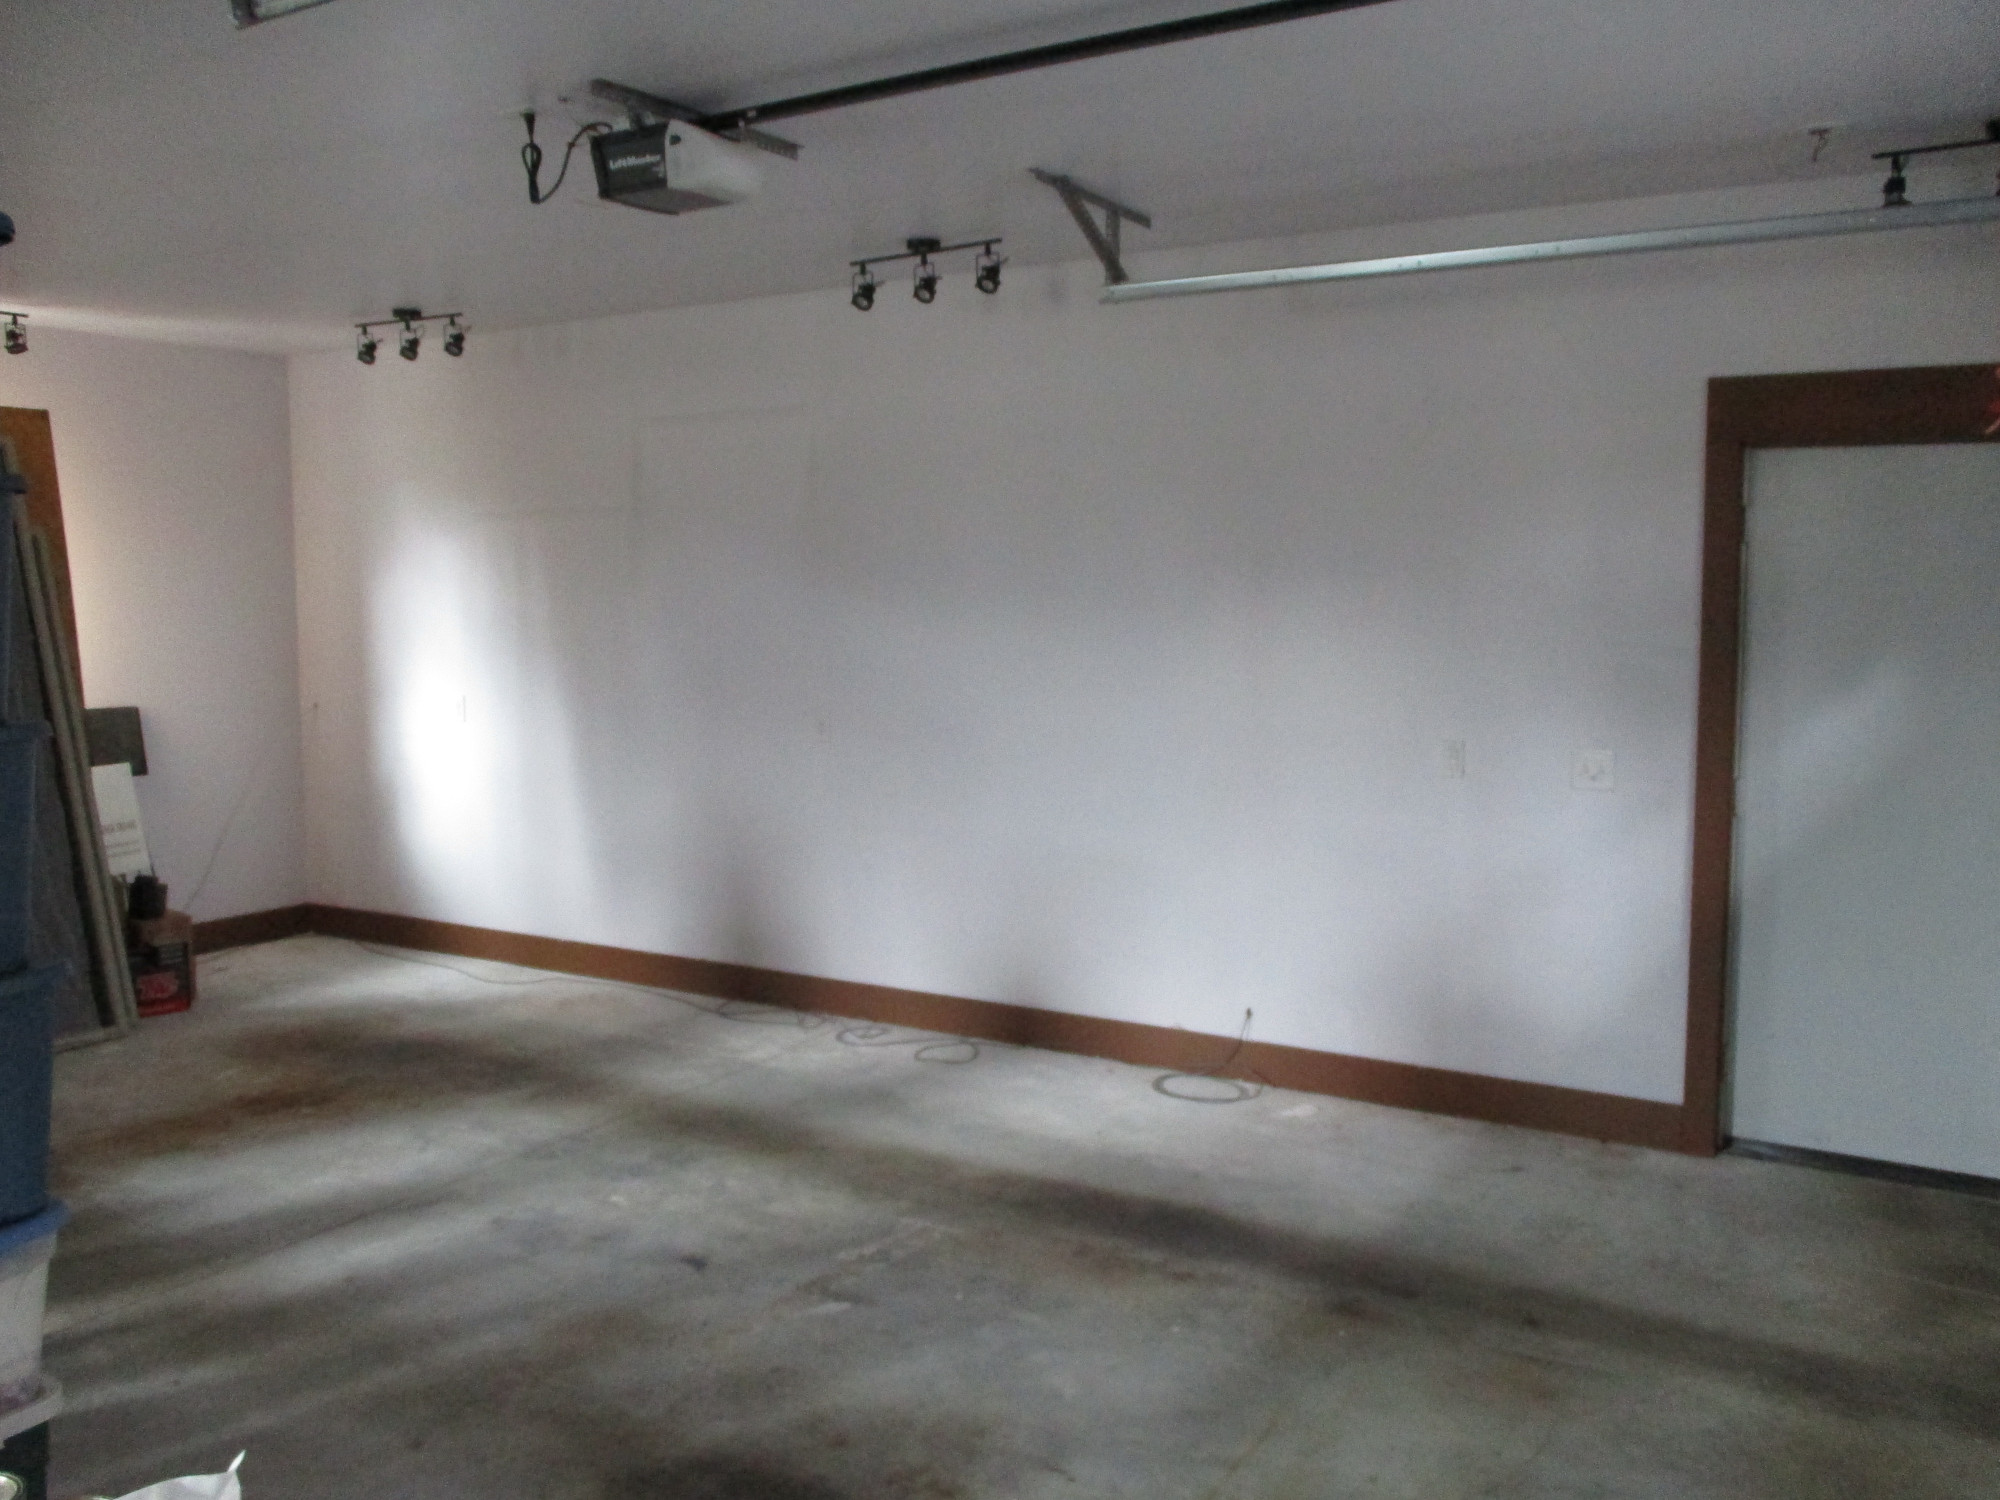
Here is the beginning: a long end wall in the garage with no shelving. No way to store things efficiently.
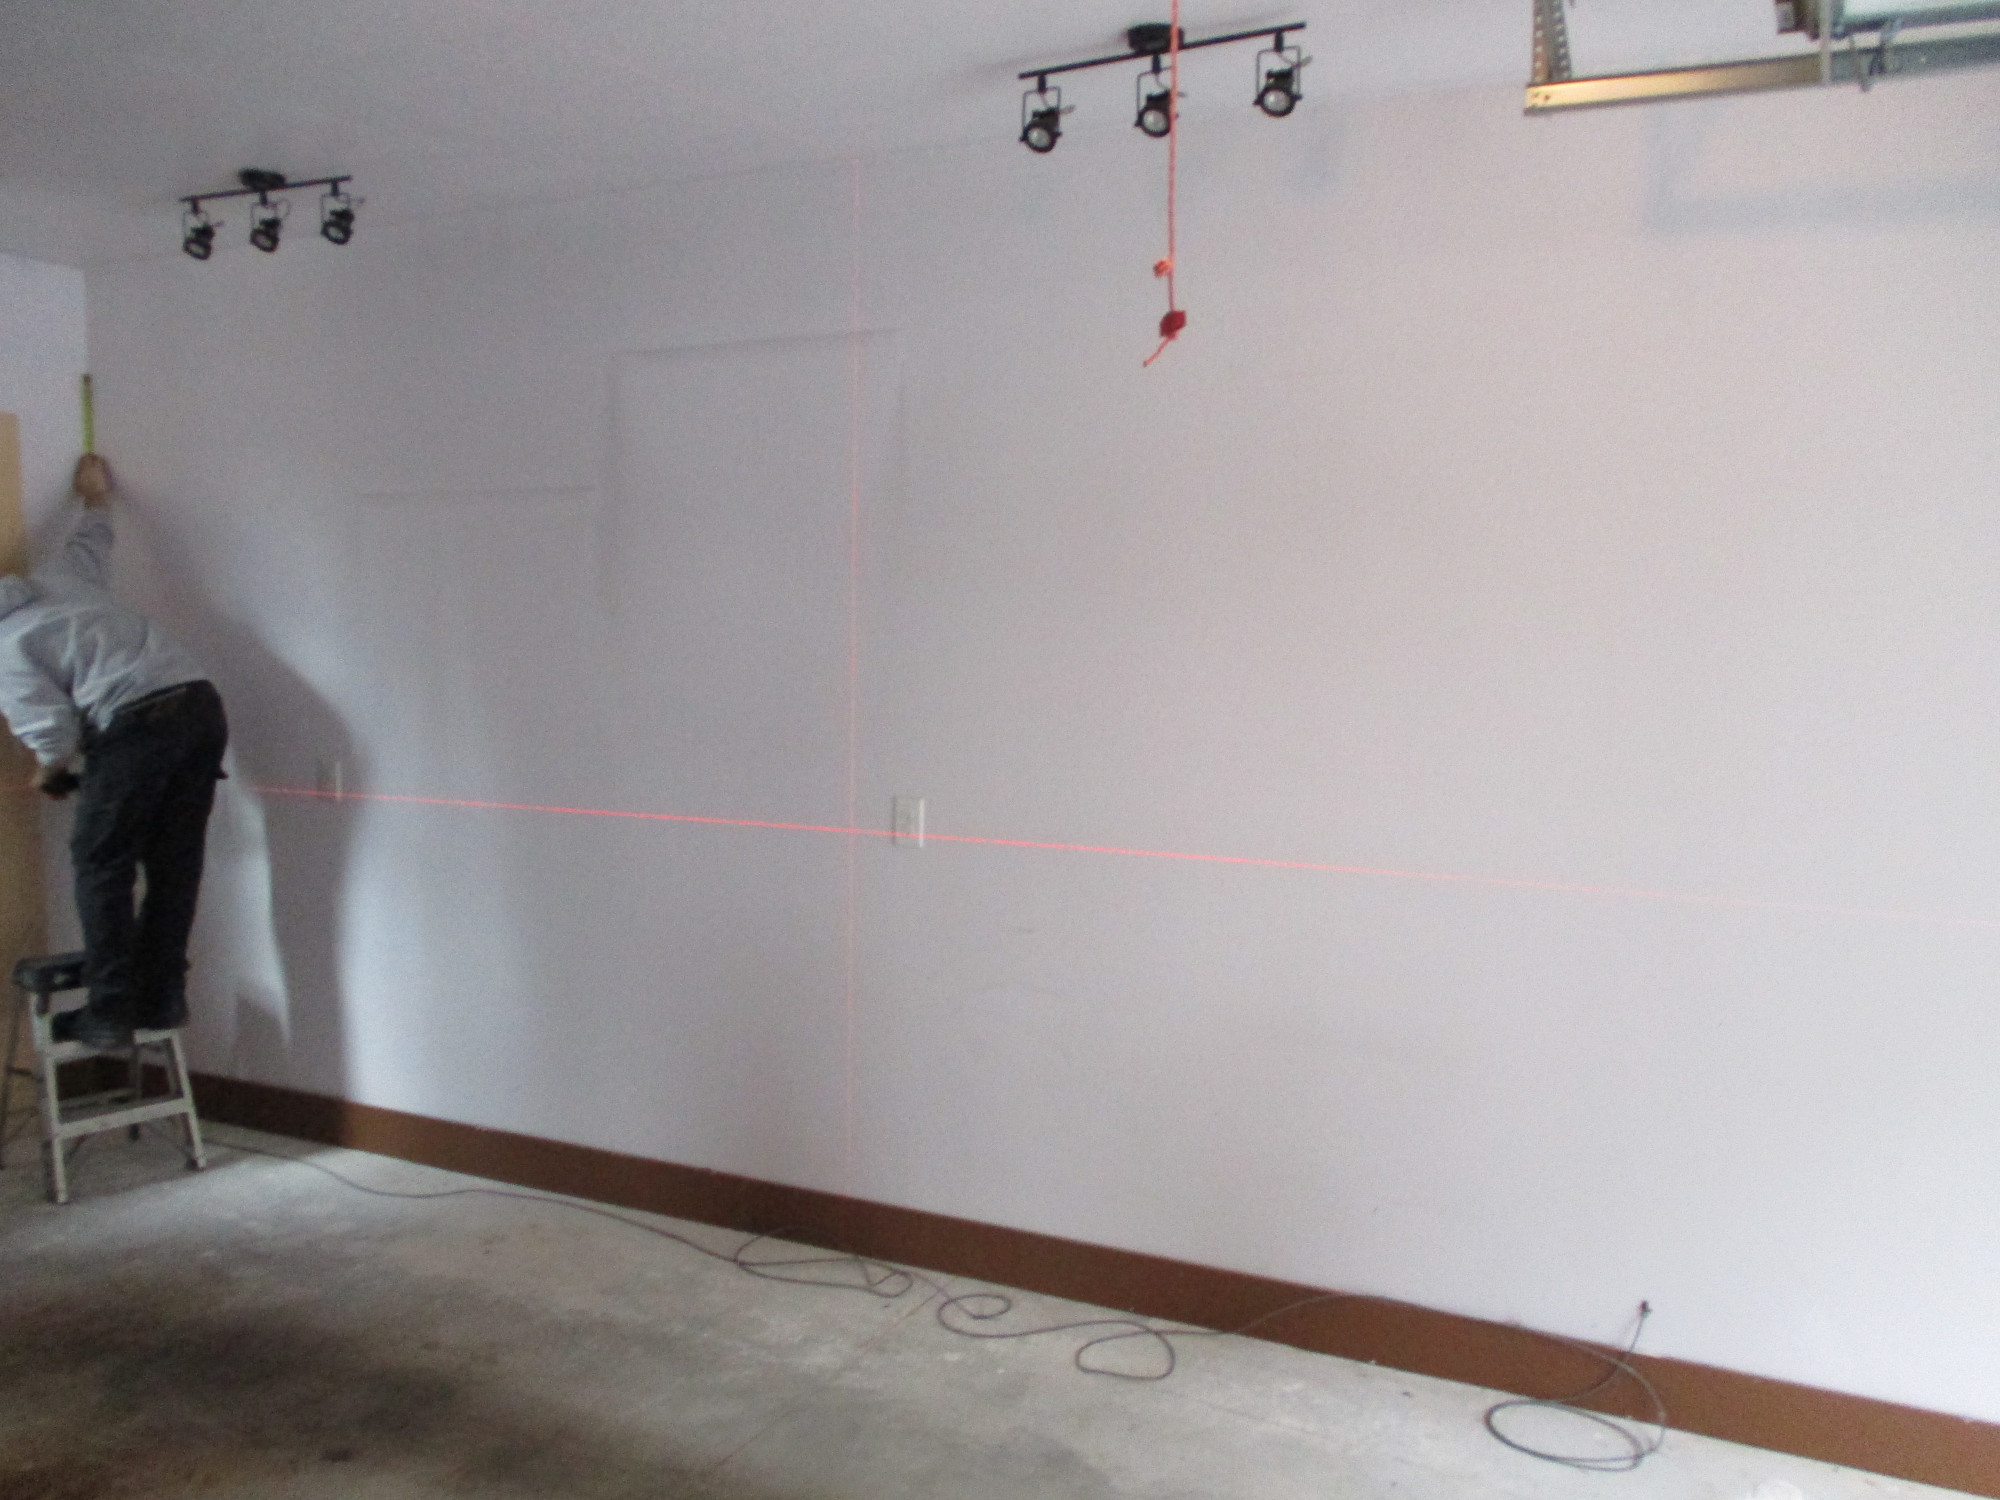
So the shelving subcontractors set up a laser with a perfectly level and perfectly plumb crosshair of red laser light on the general center area of the wall:
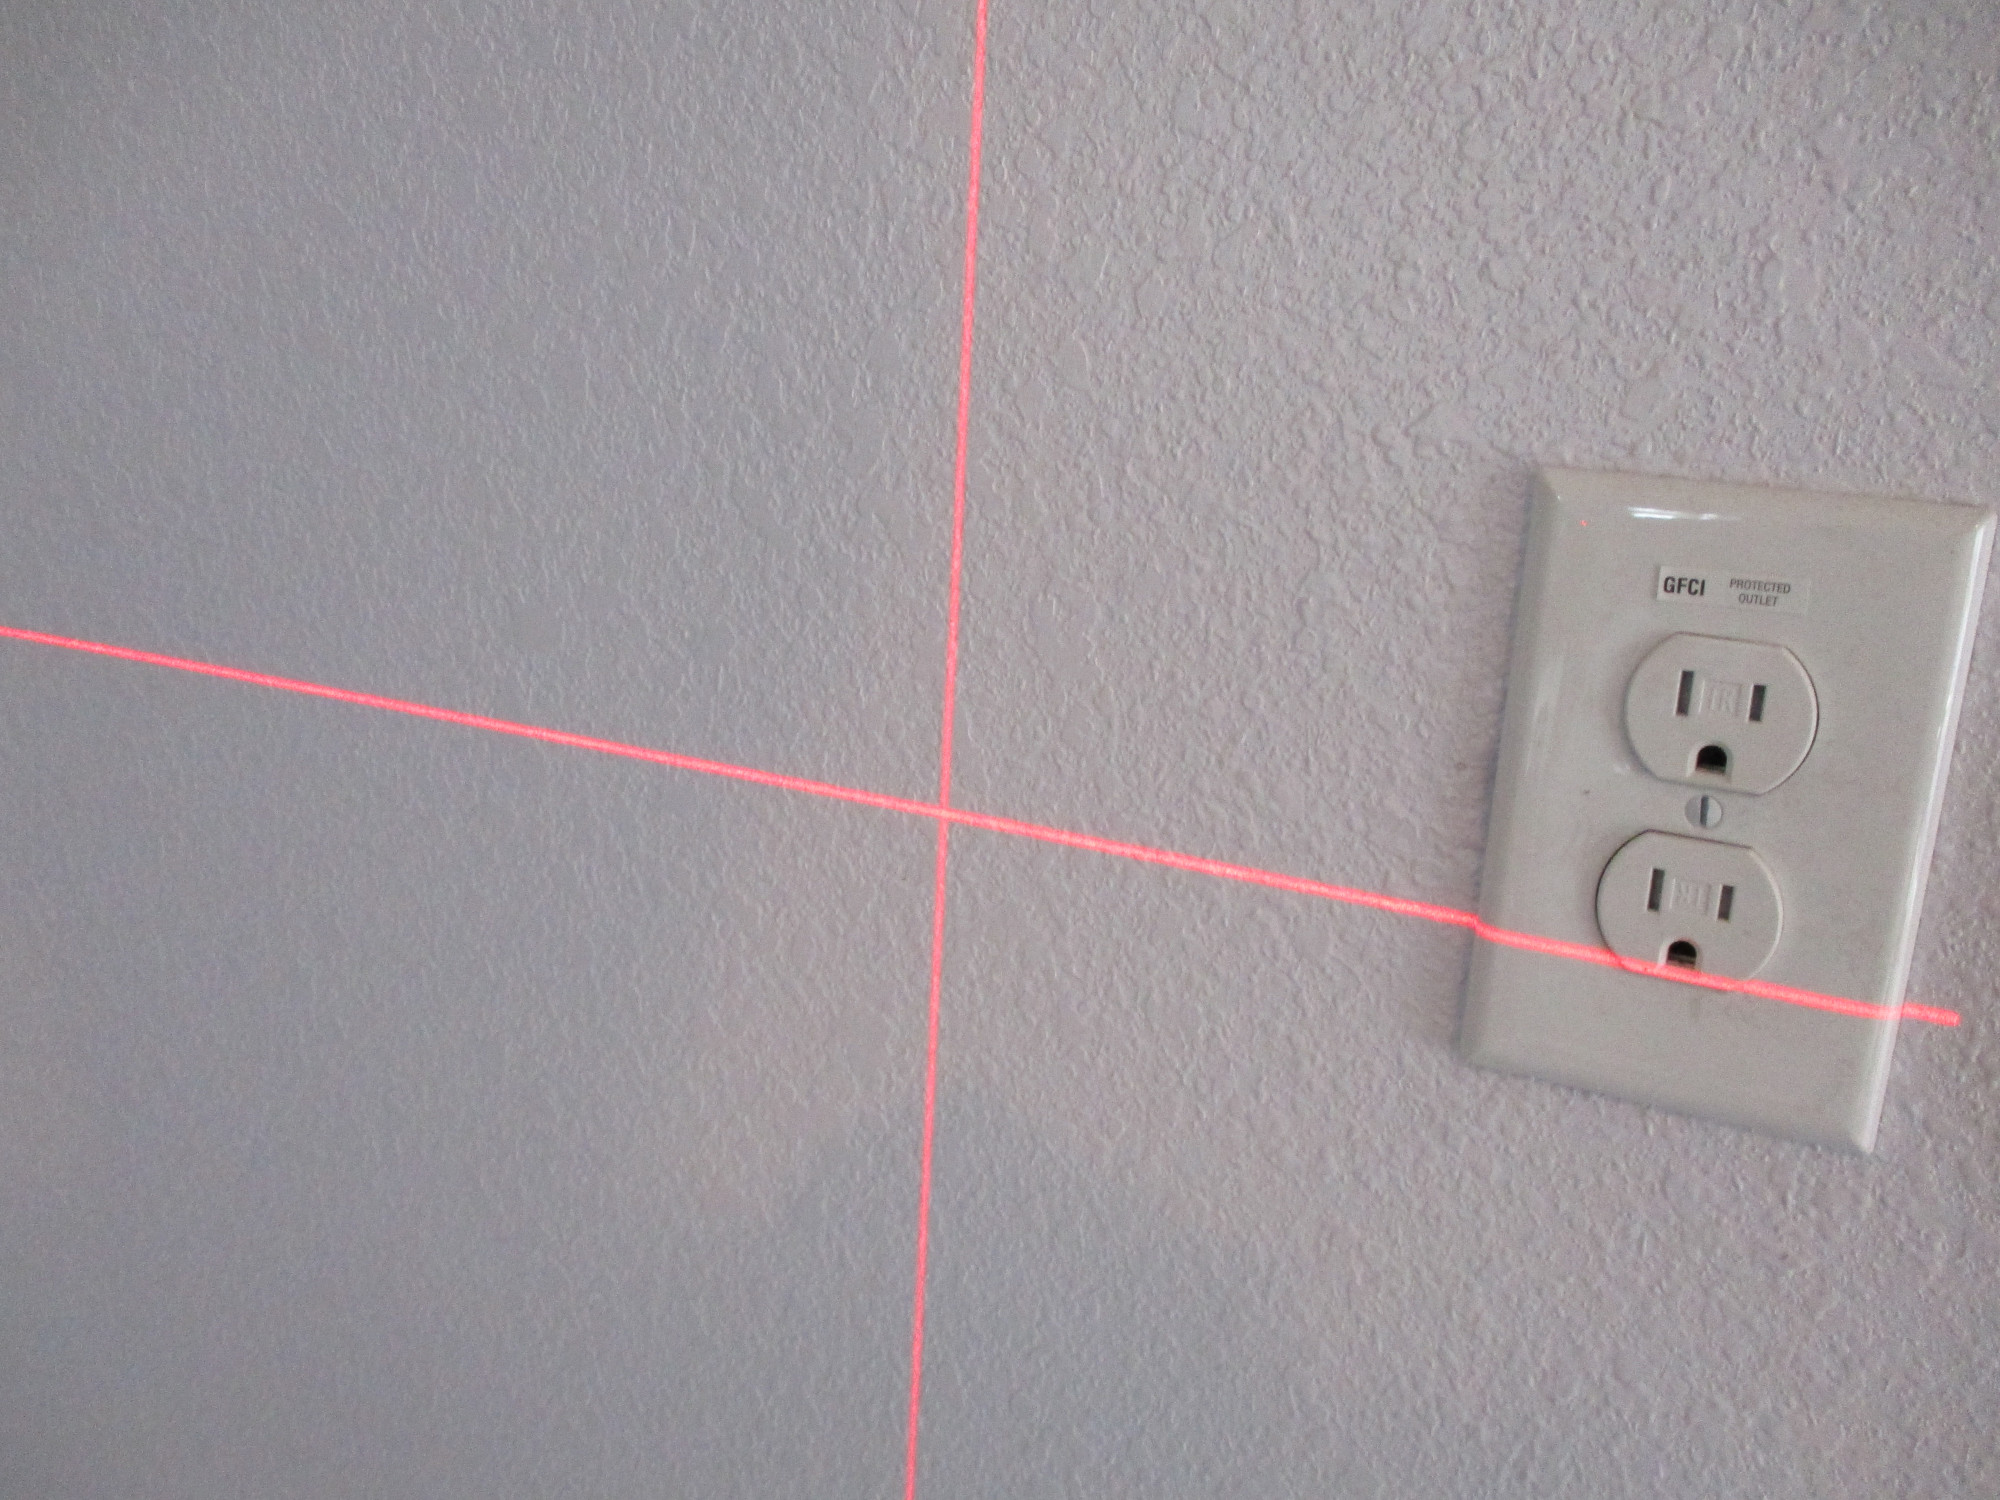
And here is a detail blow-up of the crosshair.
This helps the craftsmen to align the boards properly.
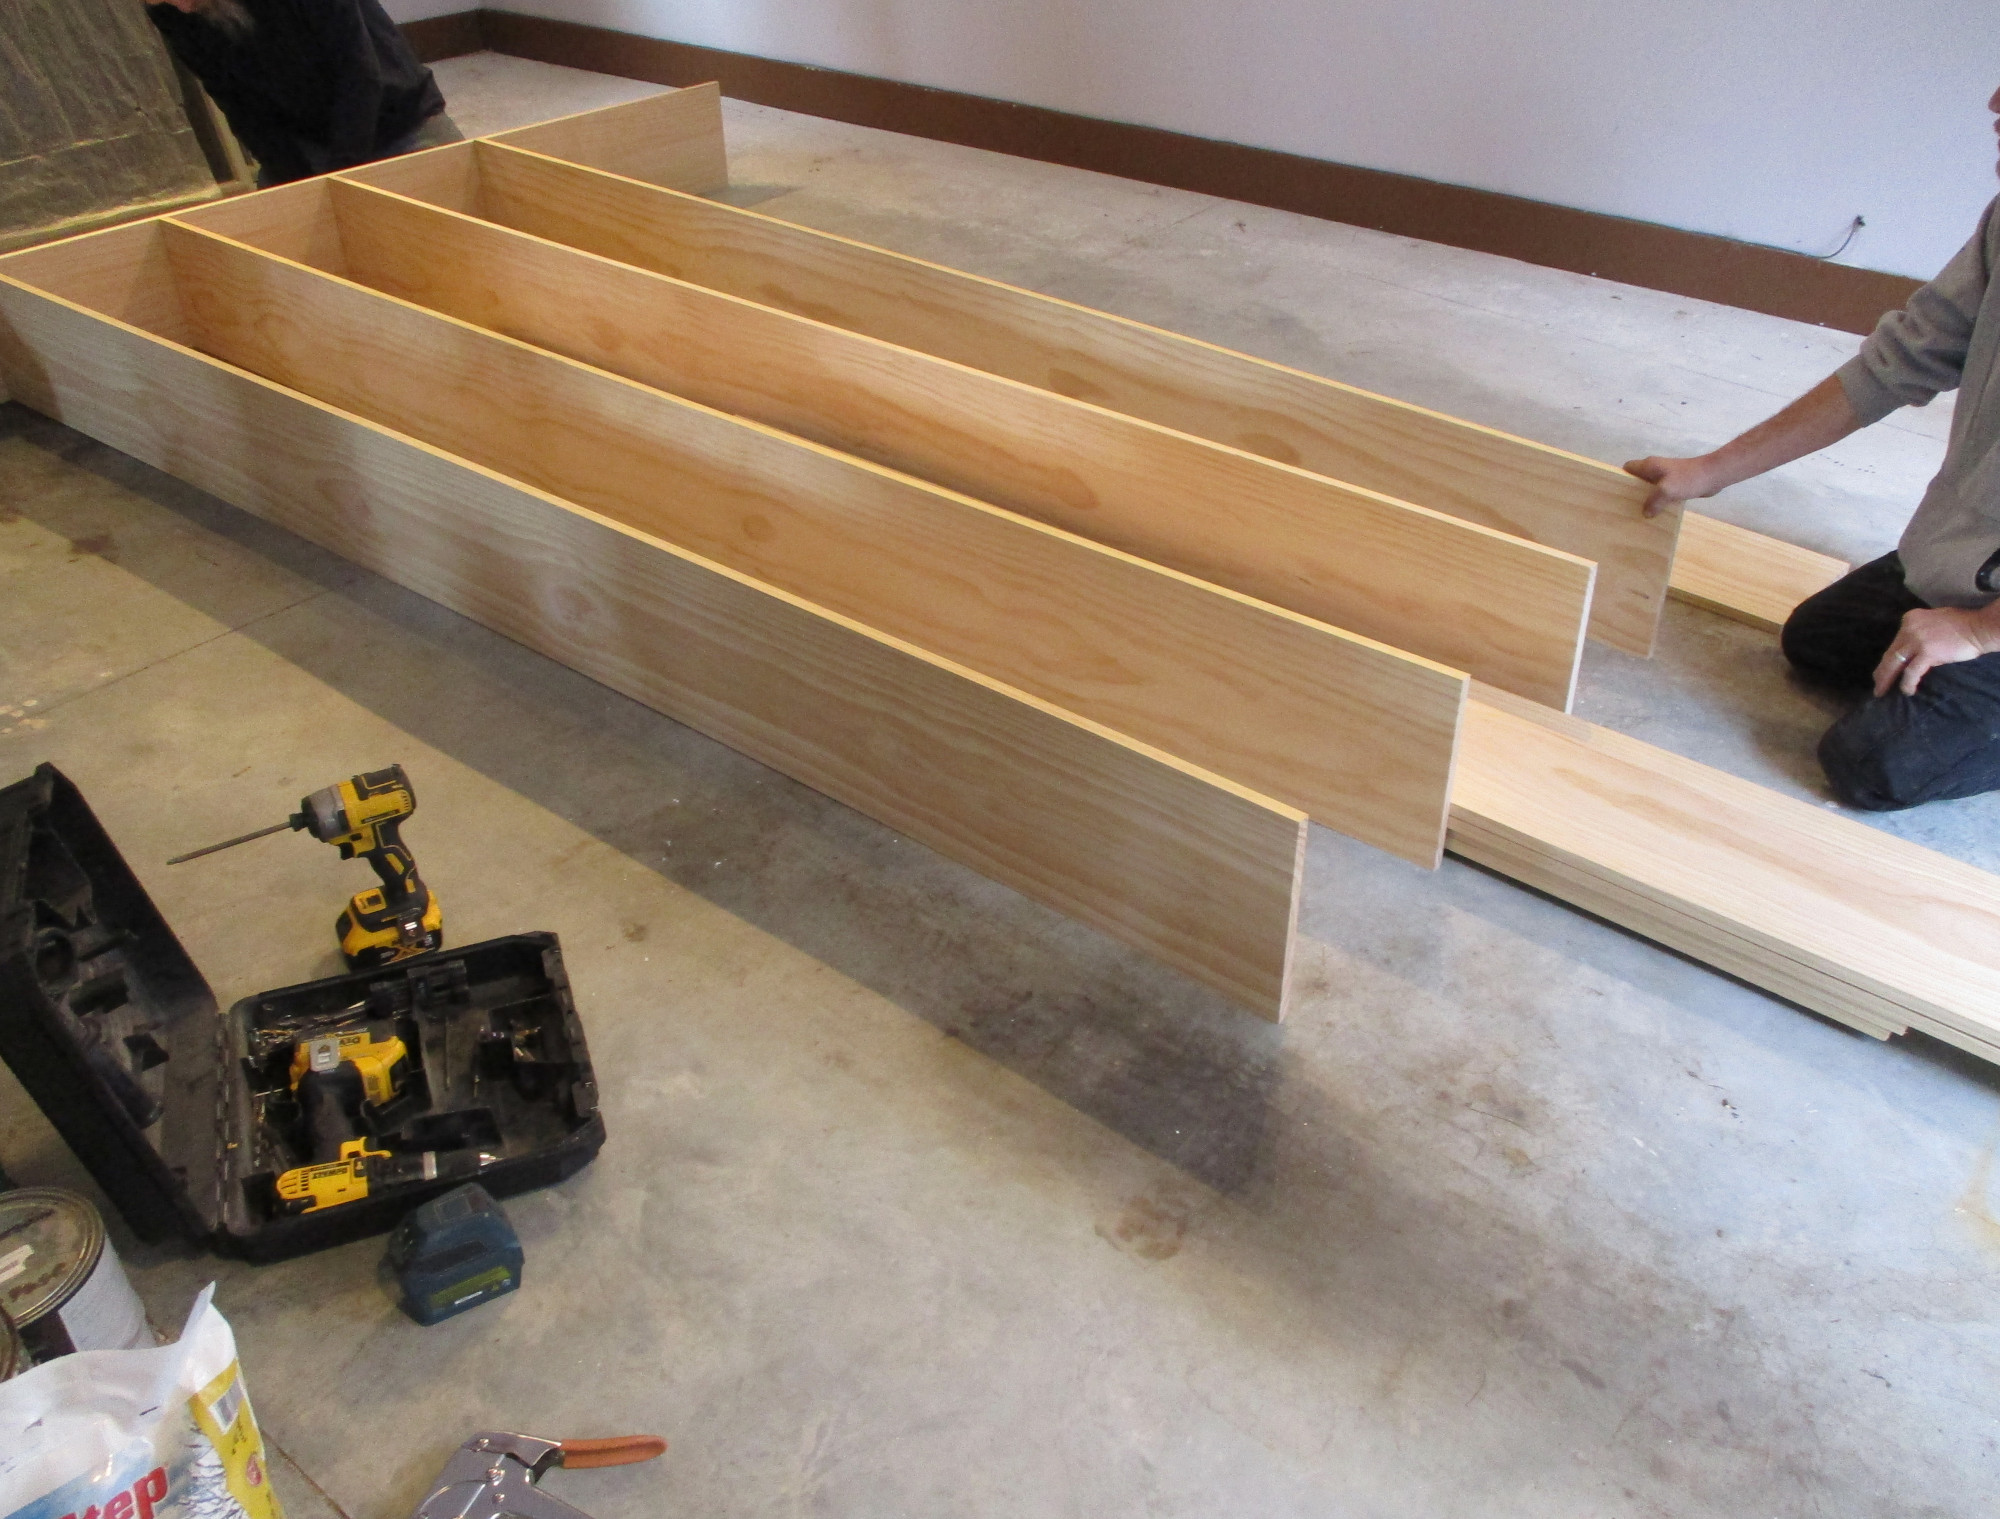
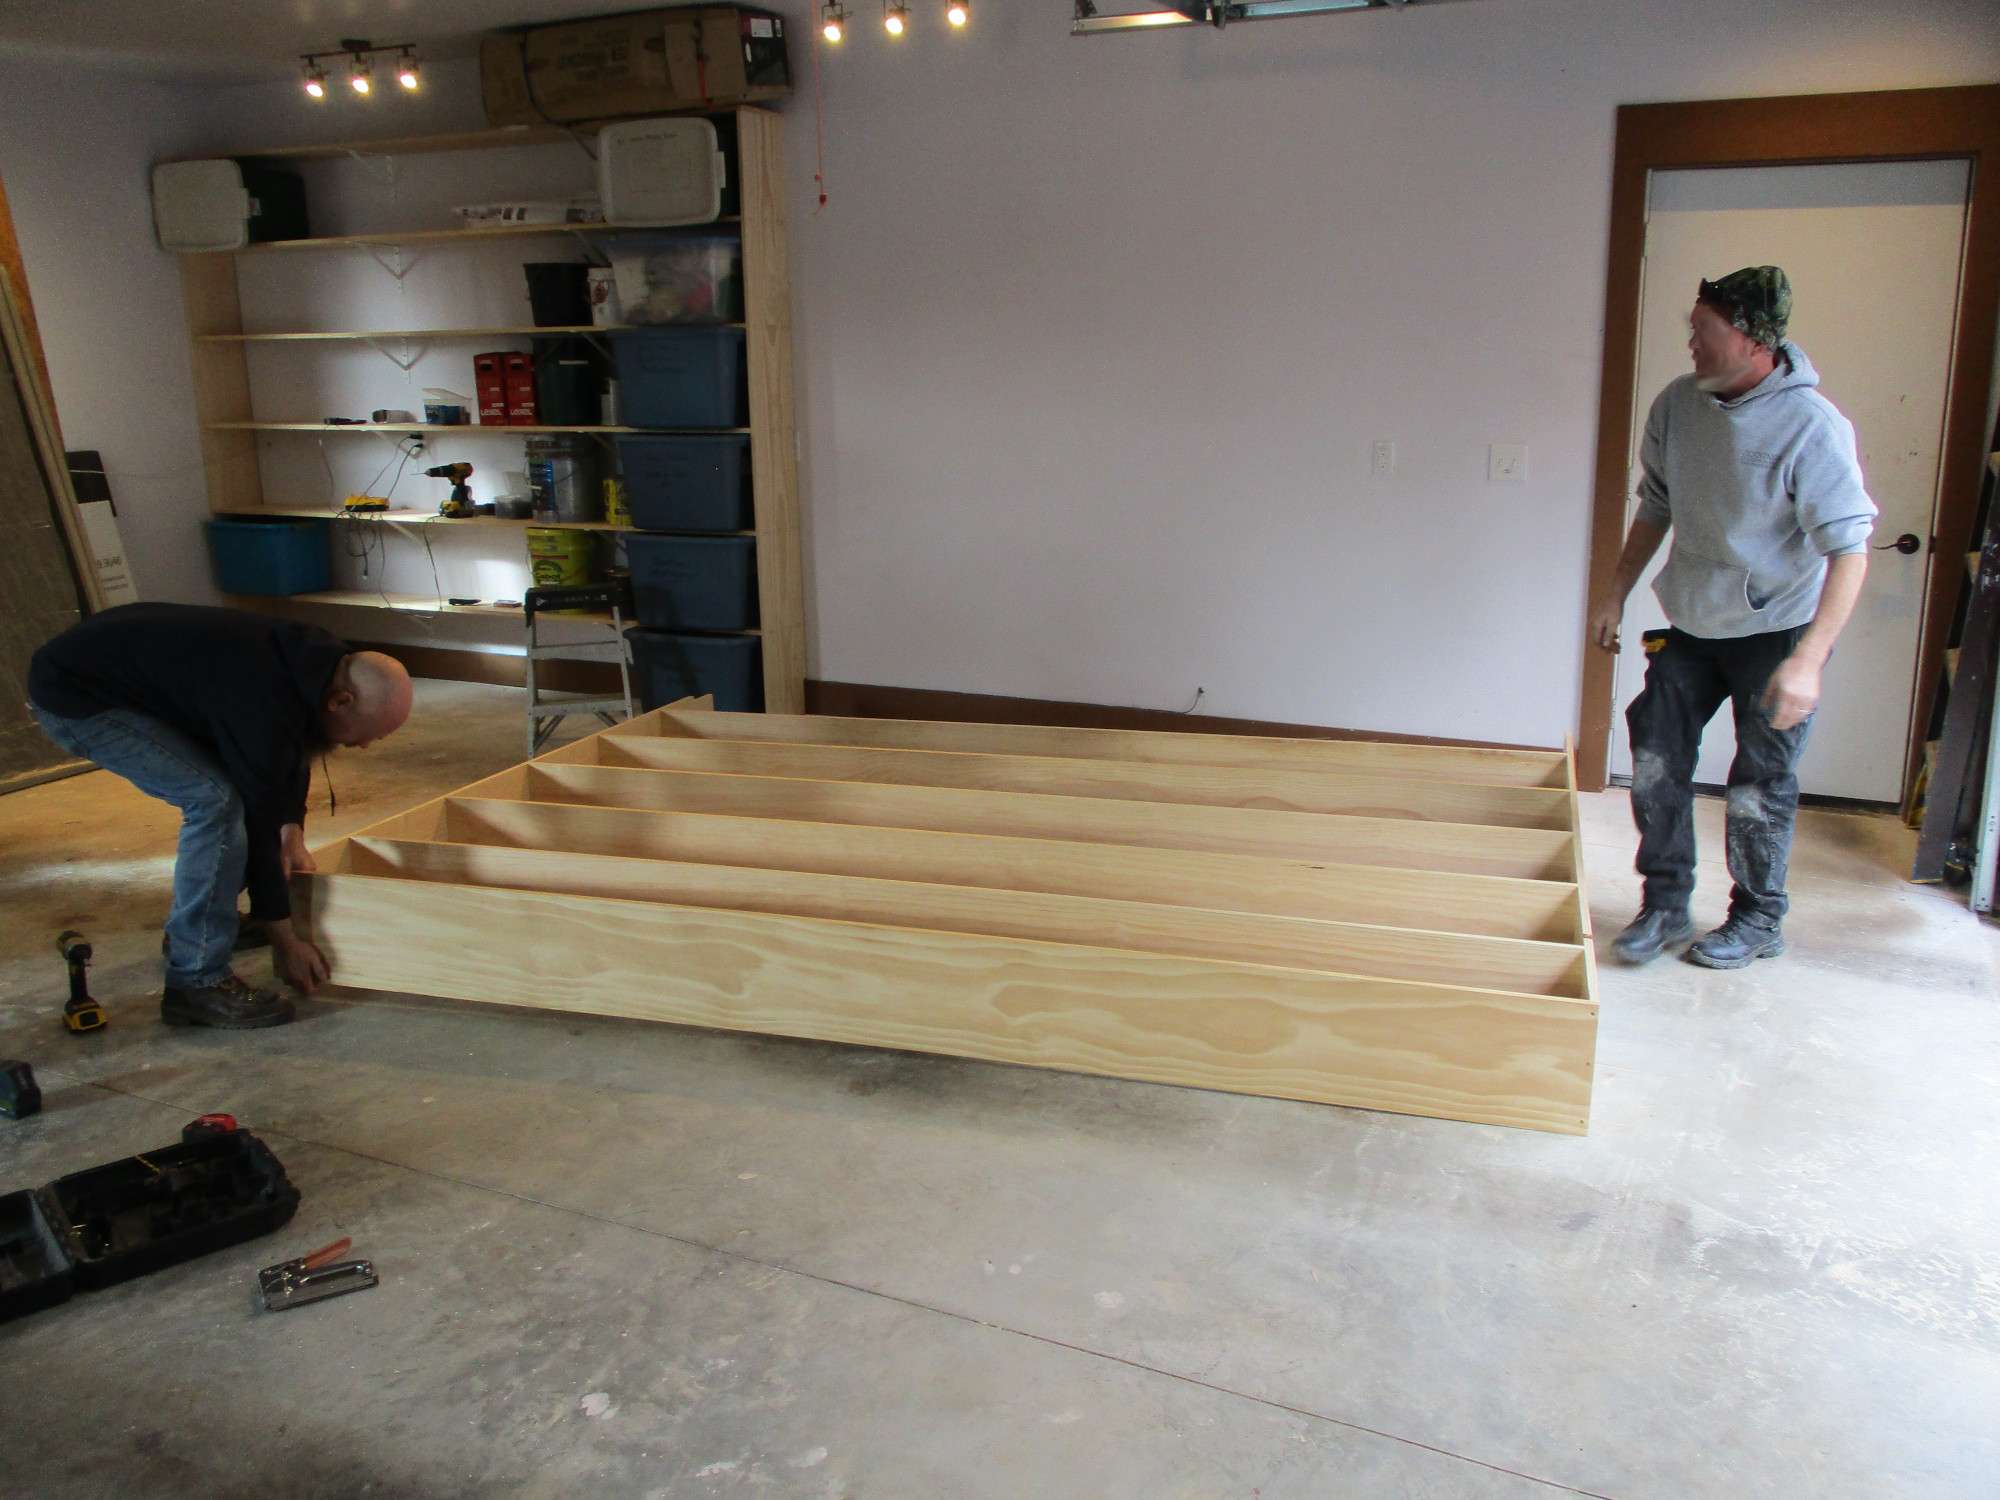
The next step is NOT what most people would think: as in installing vertical metal standards on the wall over the studs. That takes more time and is very hard to get all those slots to align horizontally, and isn’t the strongest type of shelving system for the heavy sort of boxes one might expect to have in a garage. So: the way smart tradespeople do this: they pre-assemble the horizontal shelves to vertical end boards on the floor of the garage. In this case, we’re using #2 and #1 SYP (Southern Yellow Pine) 1x12s (3/4″ x 11-1/4″) and 3″ long screws. This goes together quickly. About 45 minutes or so for 1/2 of the shelves.
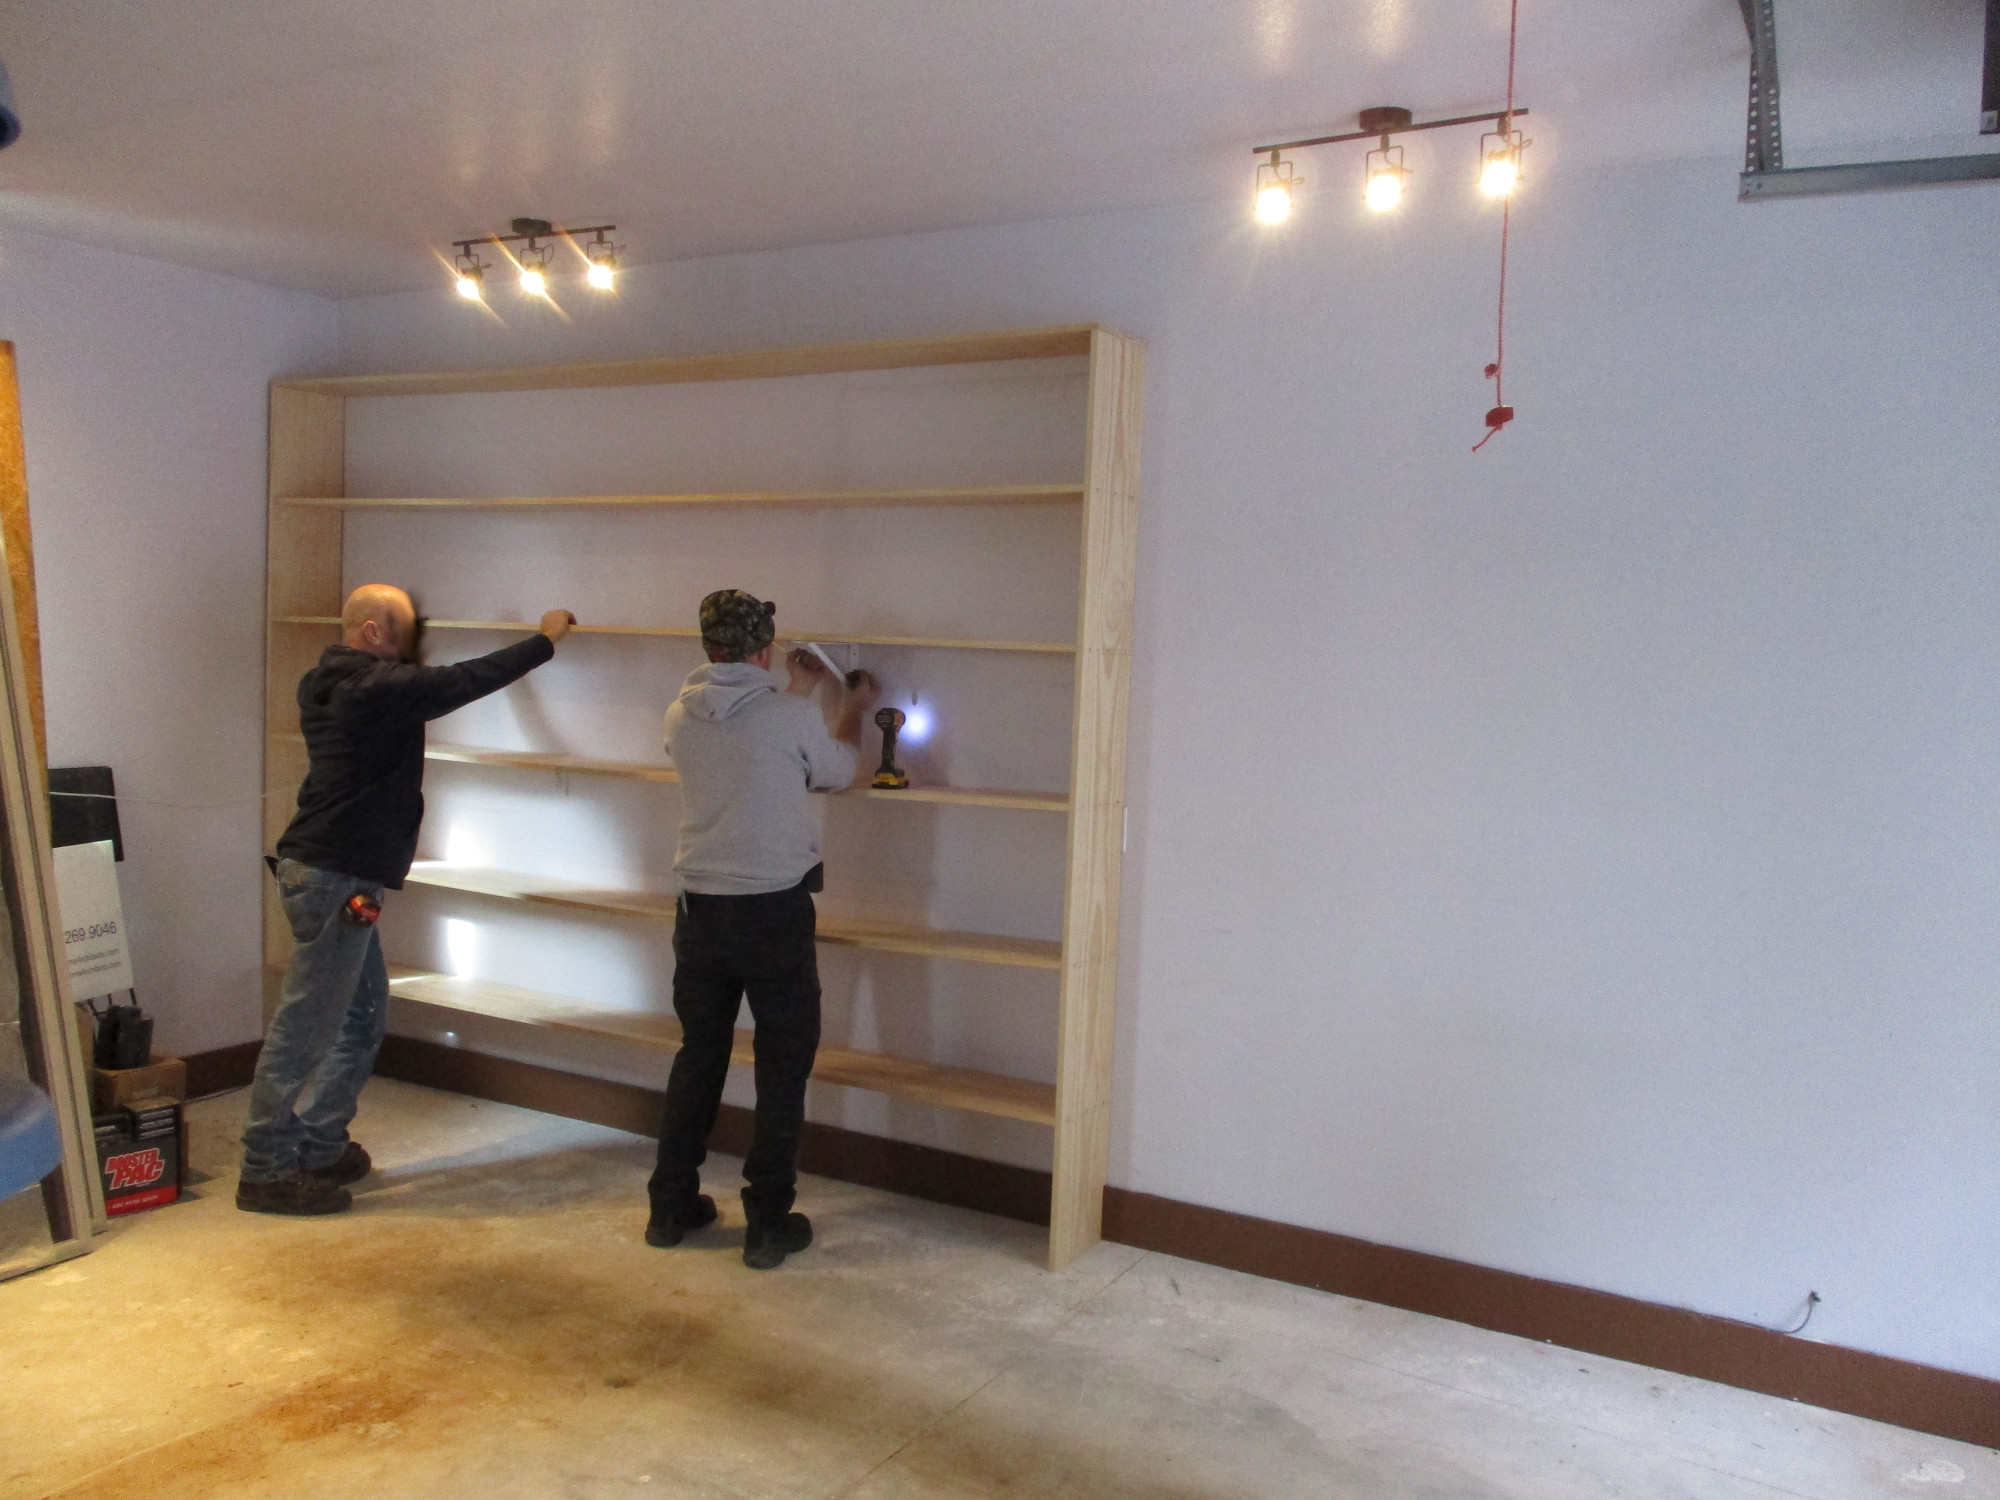
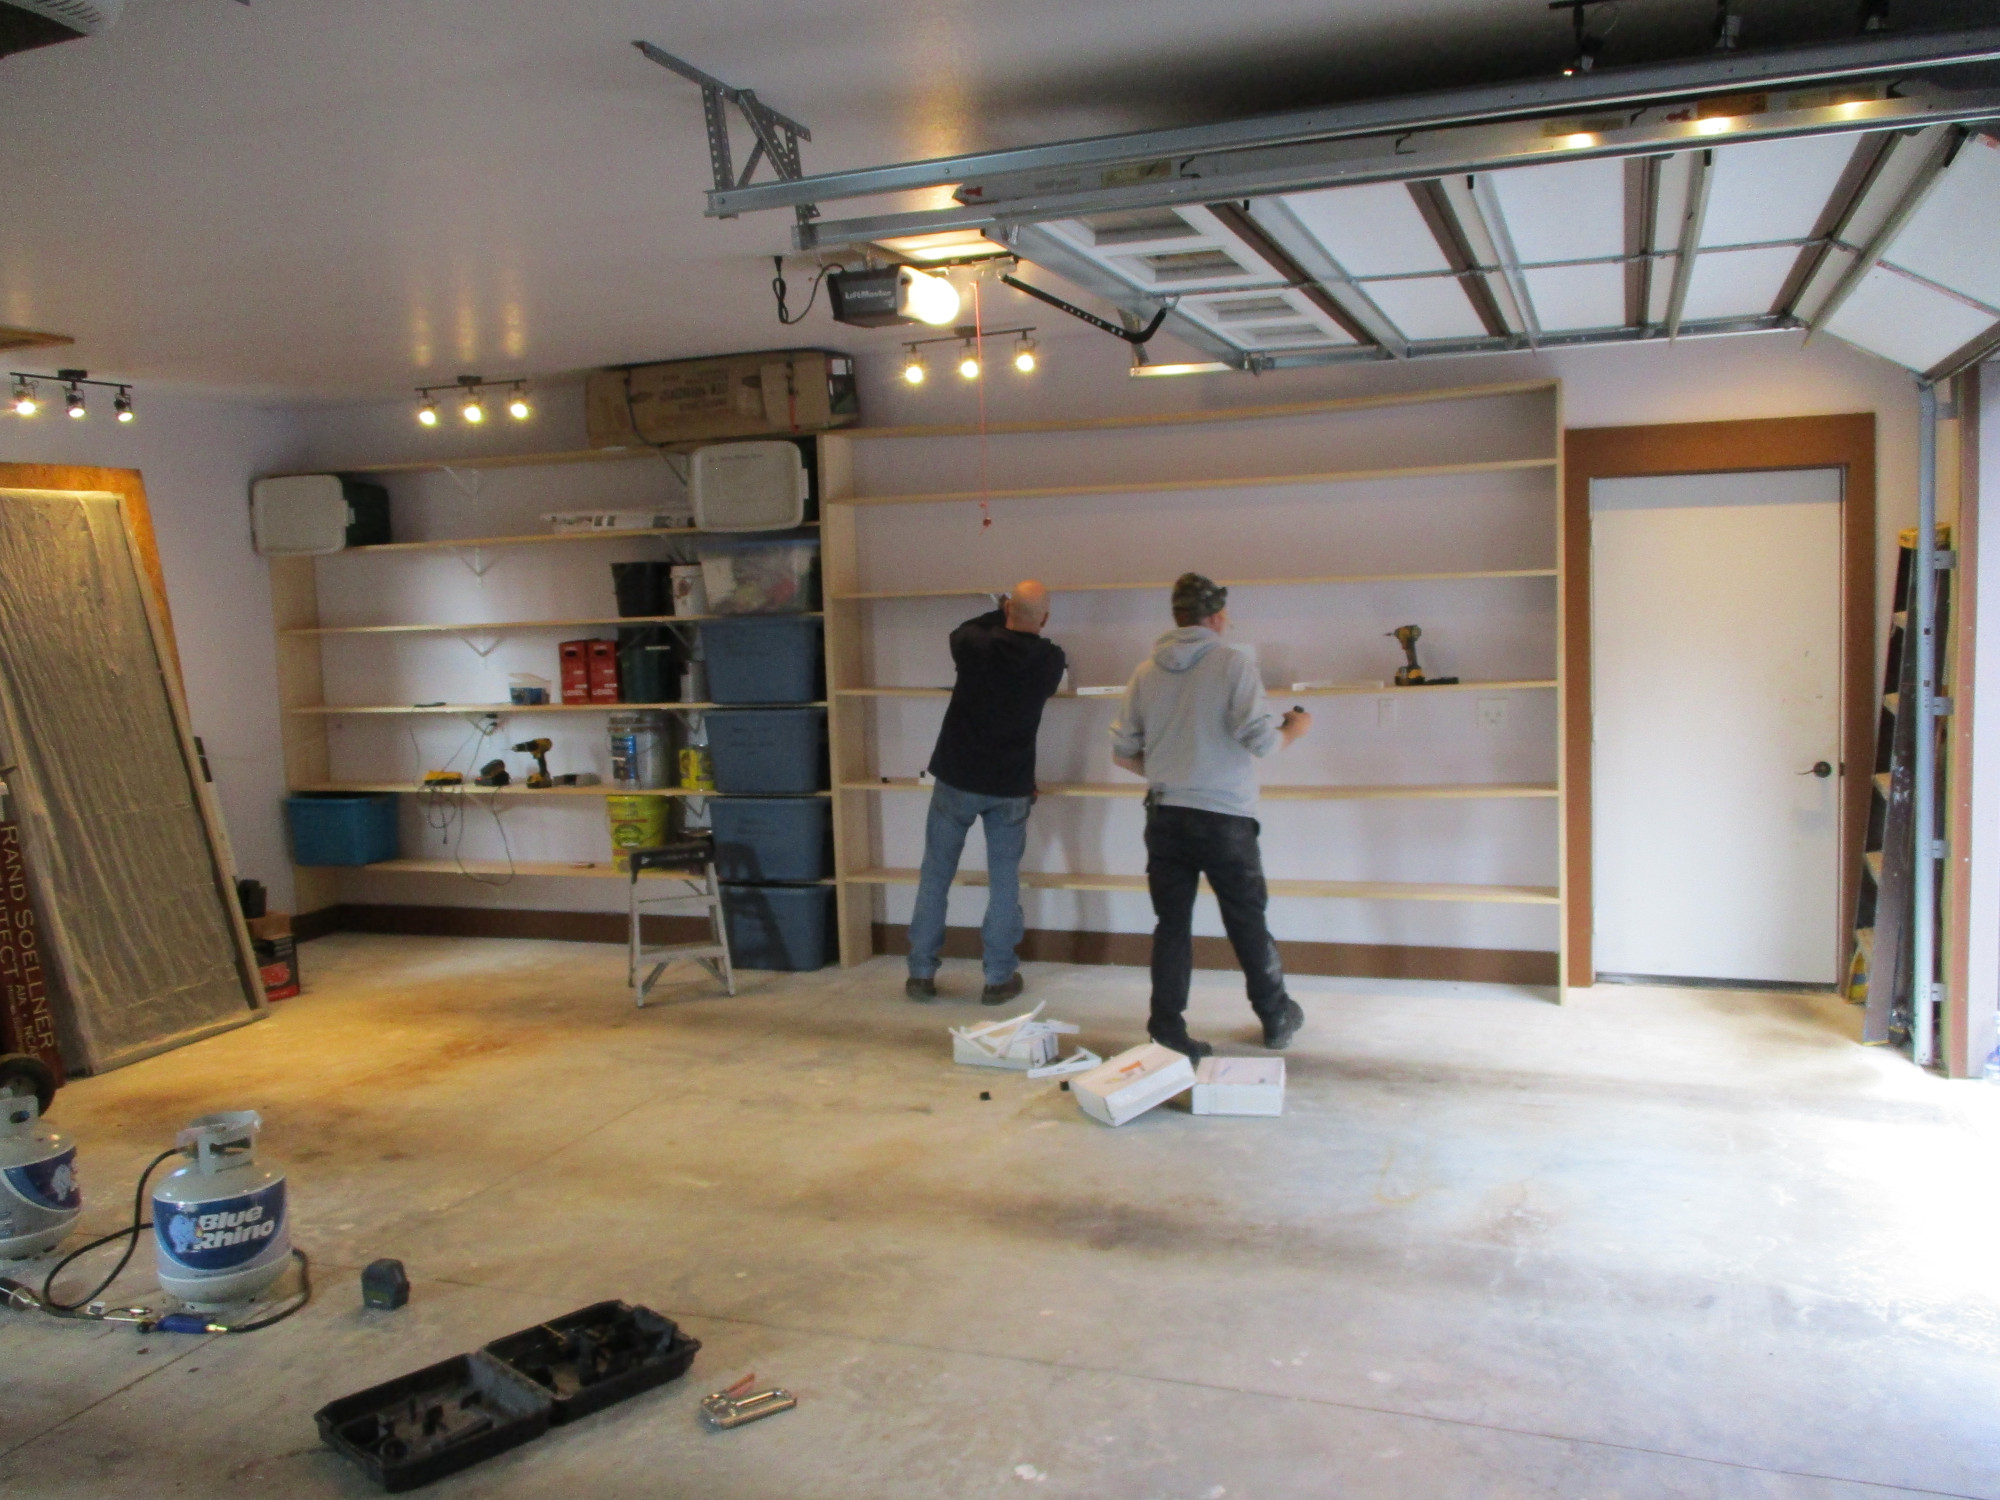
Then the assembled first shelf unit is lifted up and fixed to the wall.
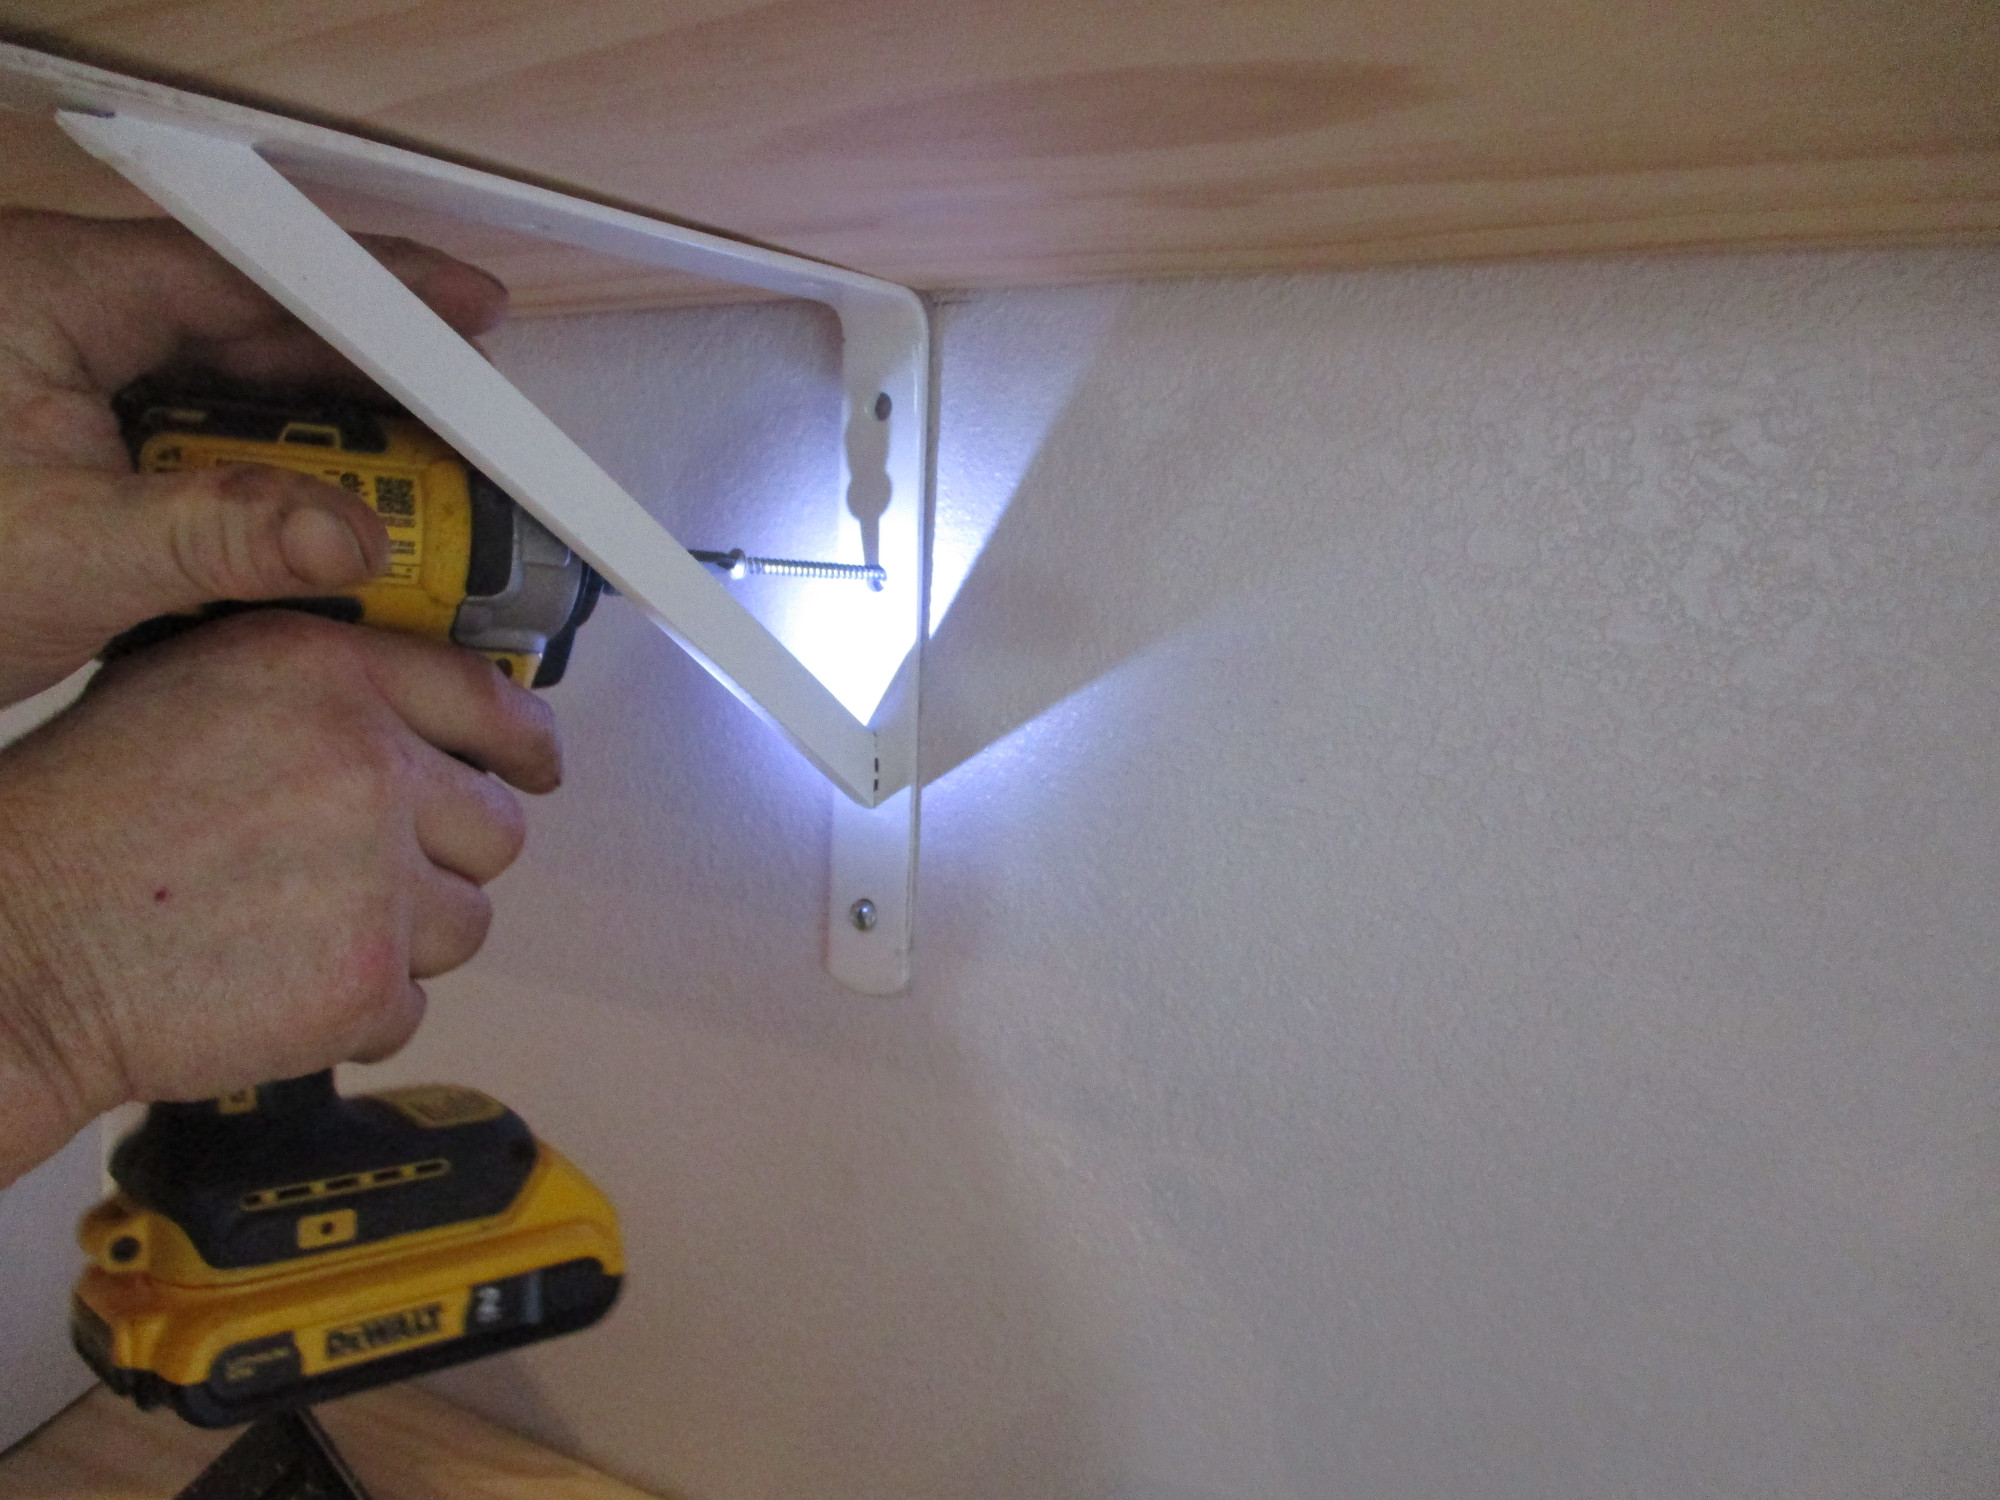
The craftsmen use the thick, heavy duty shelf standards directly through the drywall and into the studs, then screwed to the underside of the shelves to hold the shelving unit in place.
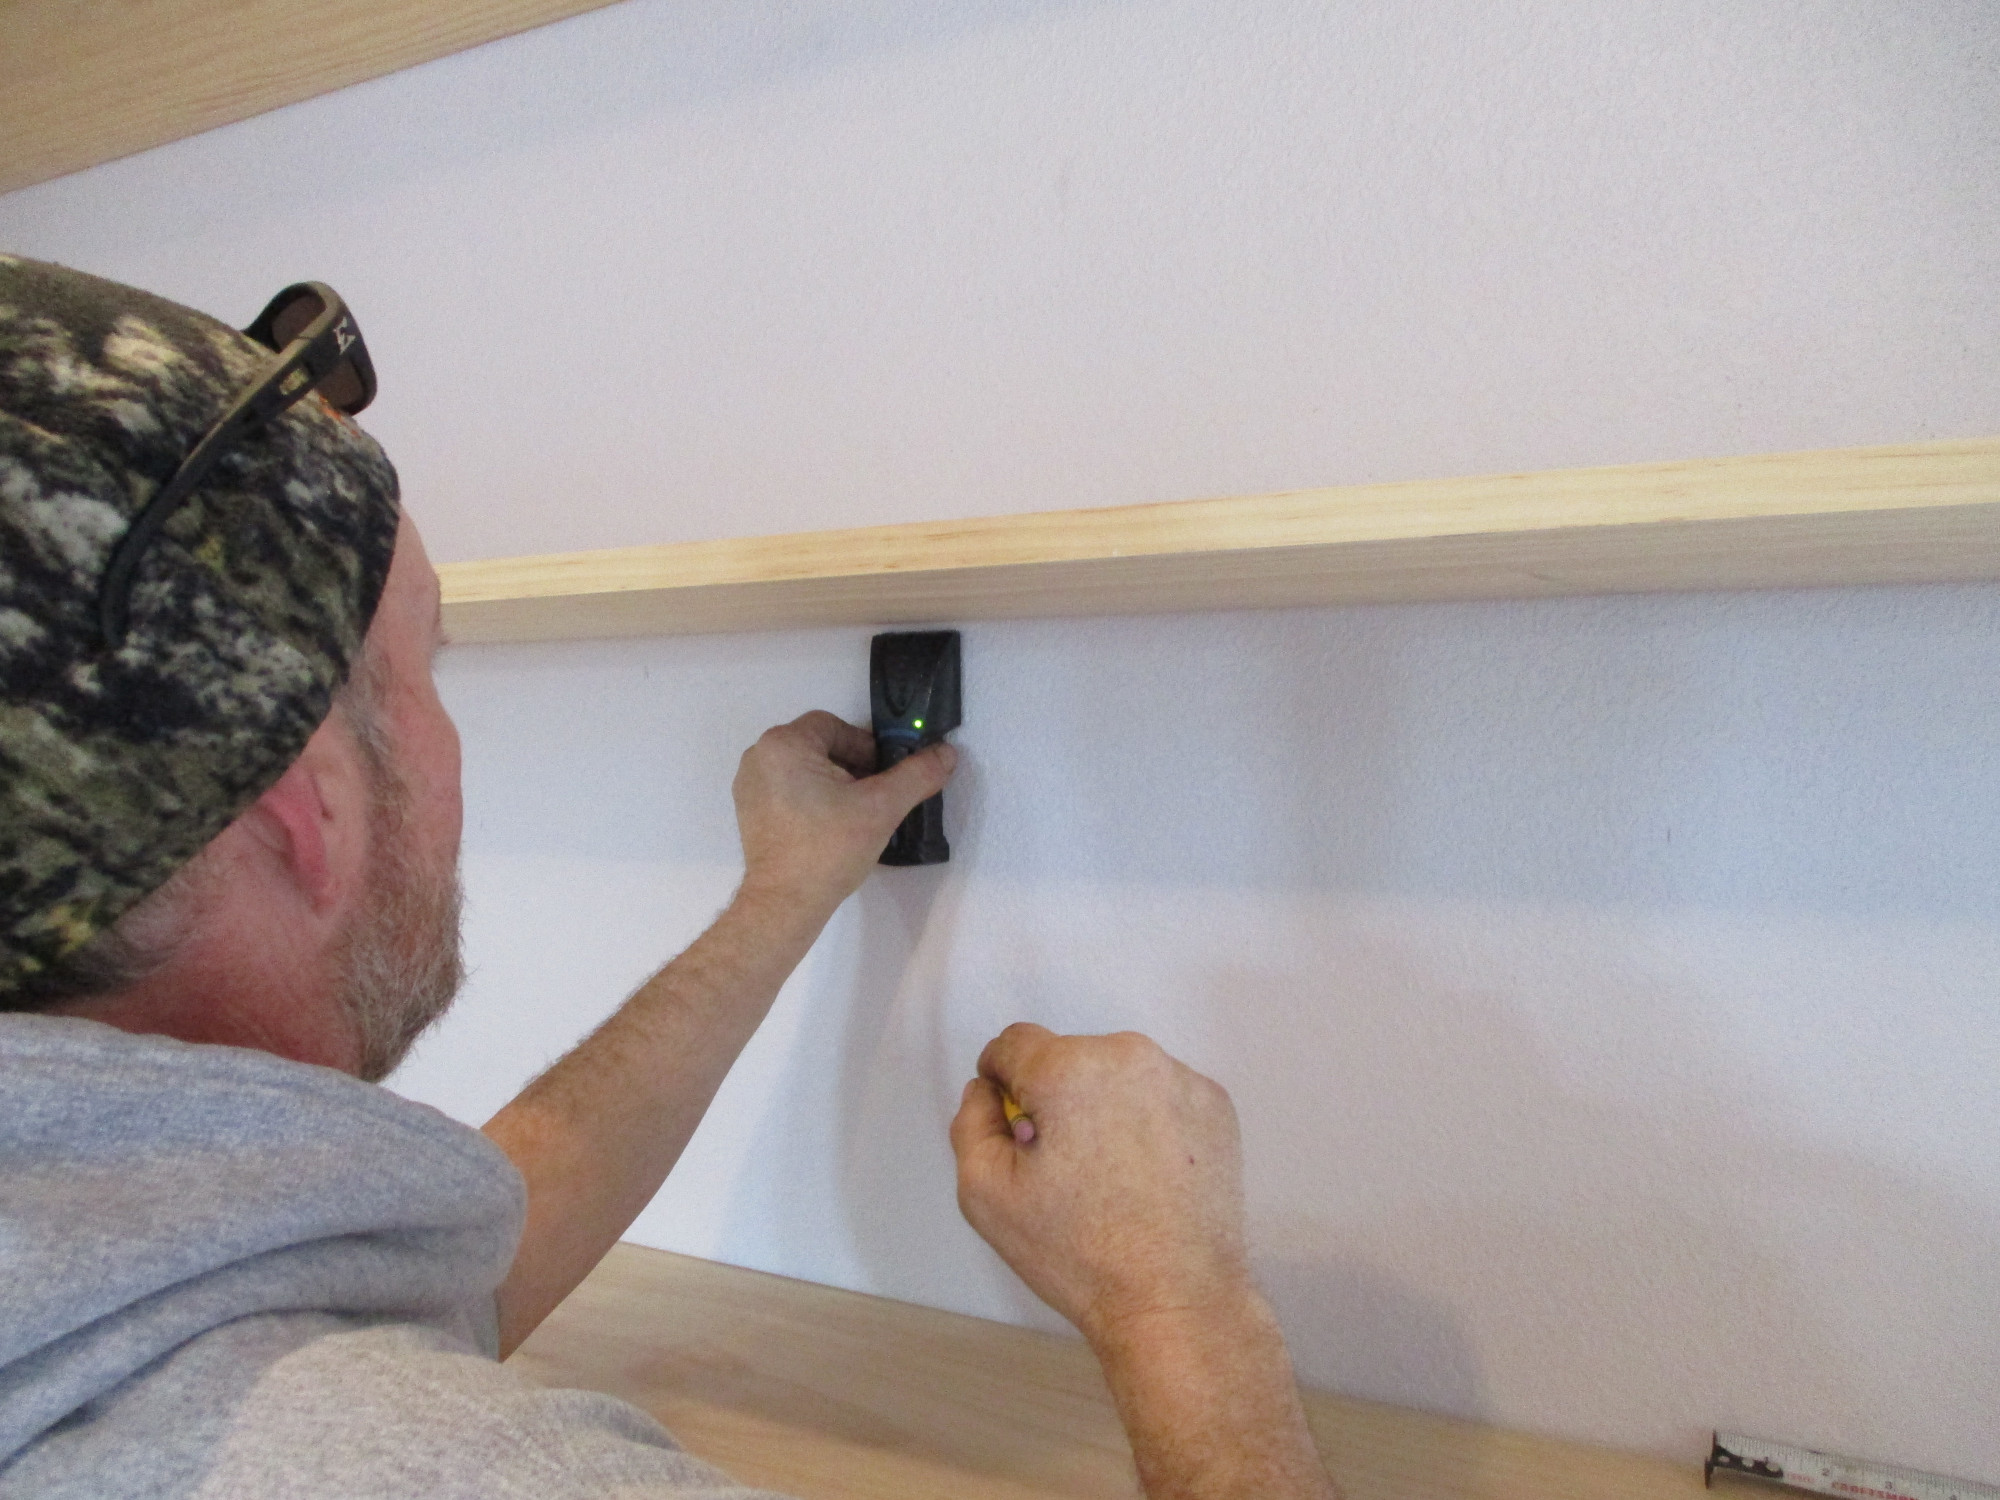
They use radar stud-finder high tech devices to make sure the brackets are mounted at each stud.
A vertical board is at each end. This not only provides a means for fabricating and assembling each half of the shelves, it also provides a vertical brace, preventing the wall itself from crashing down, when all the weight of the storage boxes is installed on the shelves. Which is another benefit over using normal slotted shelf standard and thinner, weaker cantilever brackets.
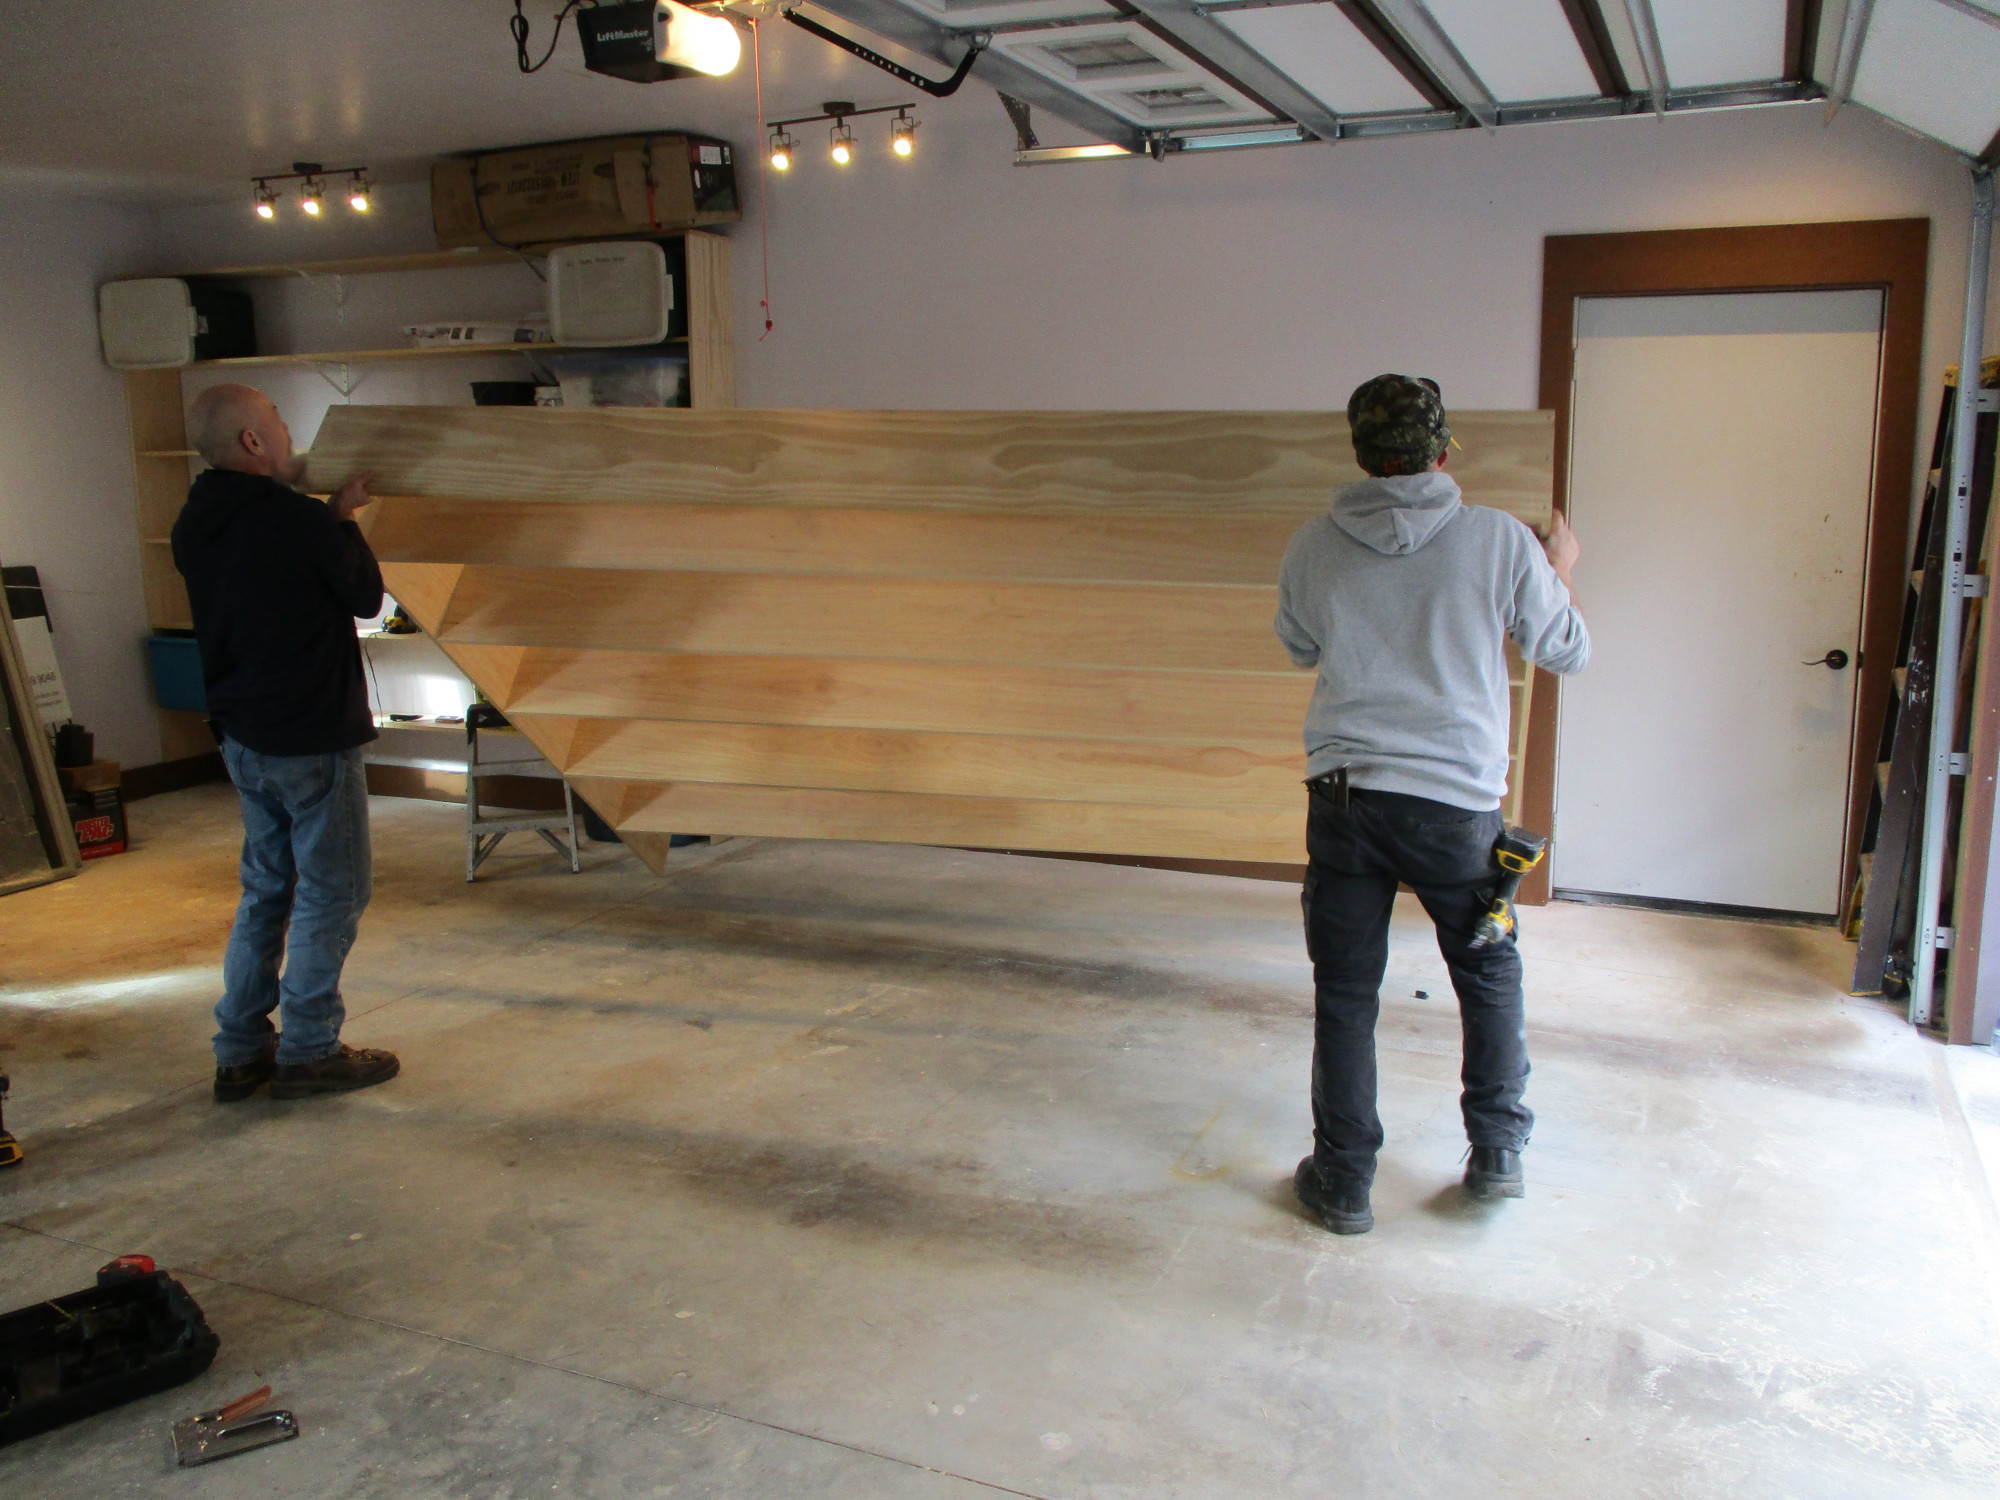
Then the second half of the shelving is pre-assembled on the garage floor.
Then lifted up into place.
Then attached to the wall in the same manner as the first section.
And screws are also used to stitch the two sections of shelving together at the center two vertical panels. Note that the end panels touch the floor, which aides in bracing the shelving and the wall from horizontal over-turning.
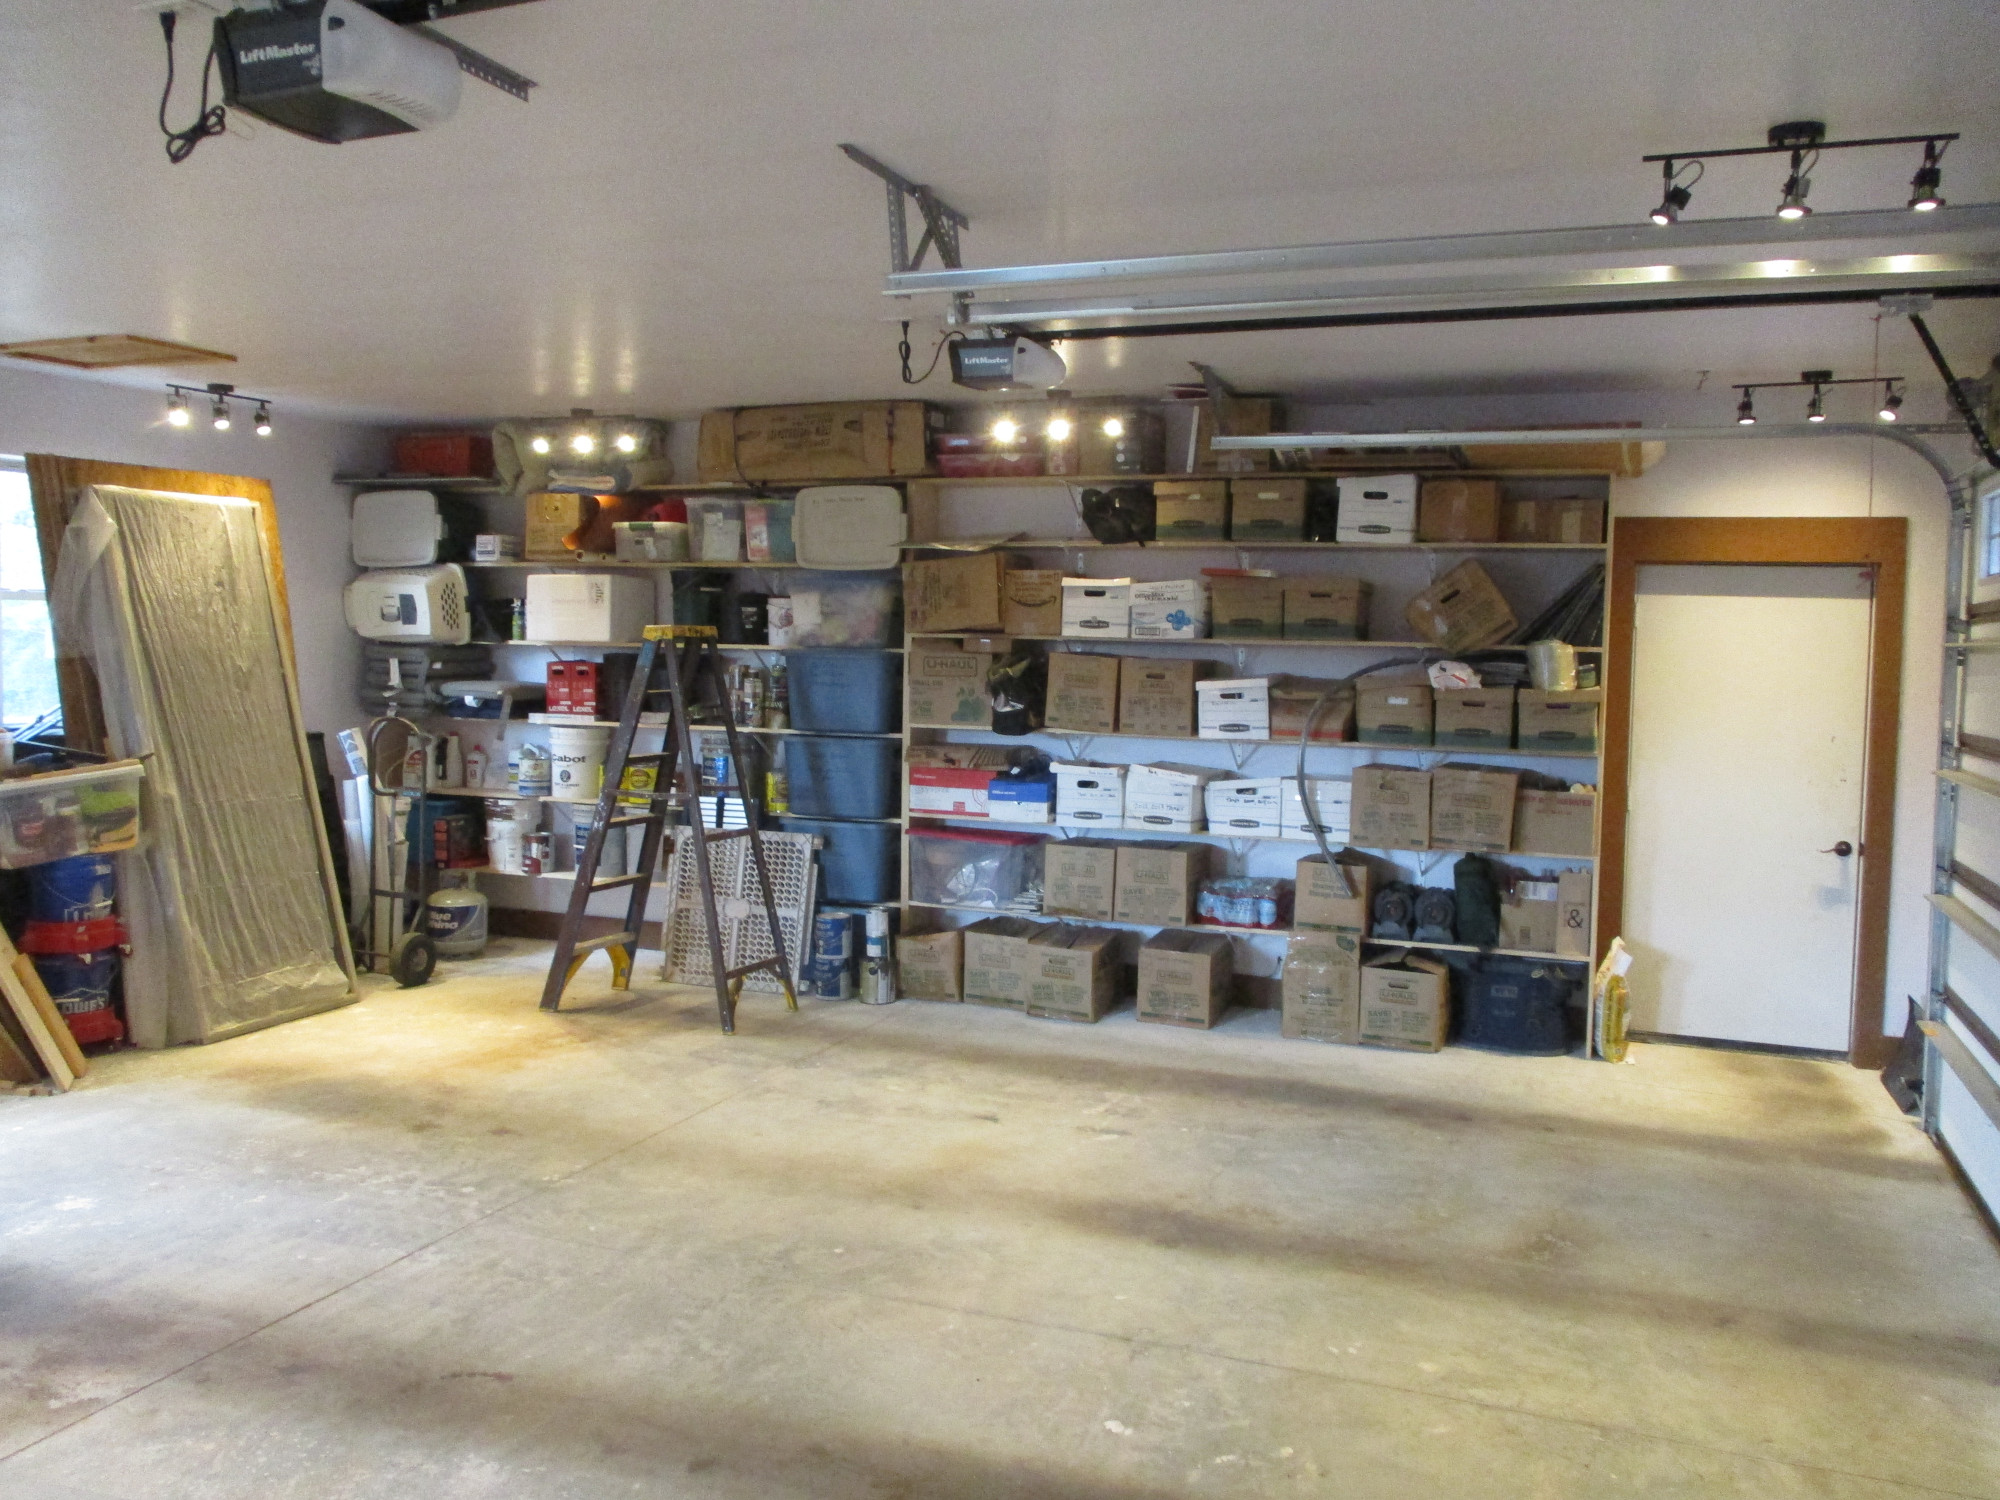
And then the Owner gets to stack all the boxes from his garage onto the new shelves.

