Mansion Bed is about this Architect designing and personally building a special large-scale built-in bed in his own family’s home.
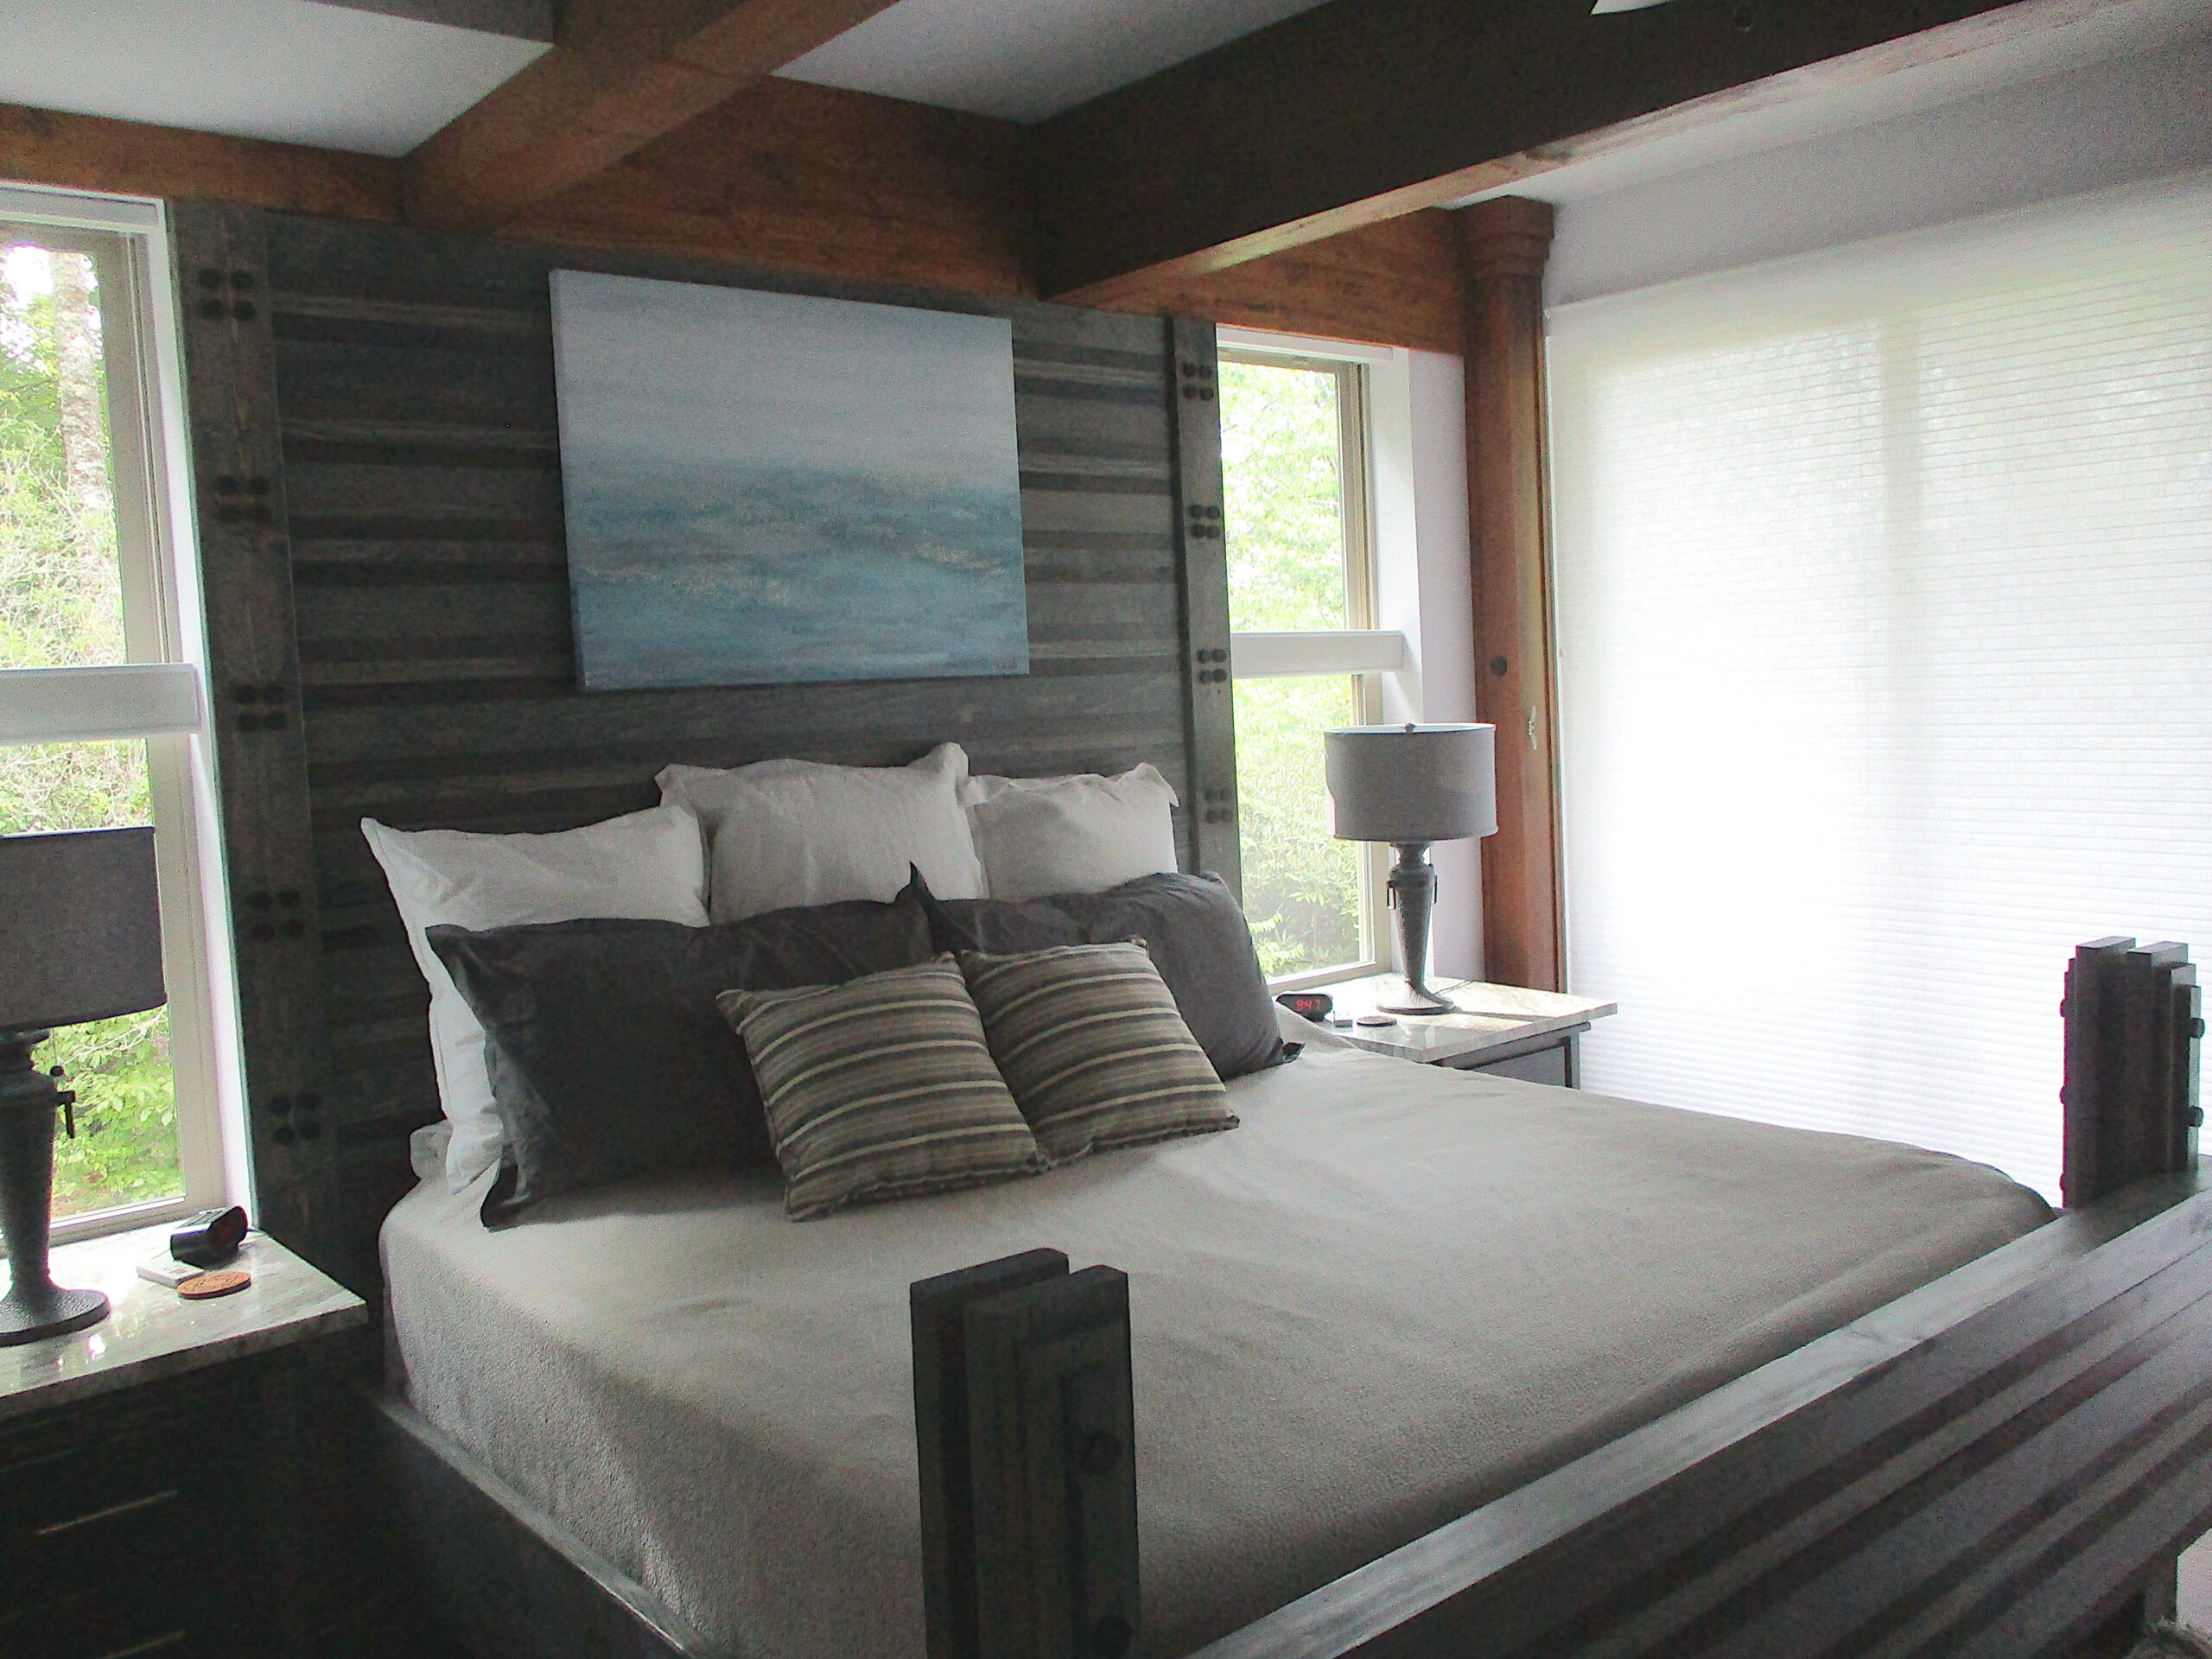
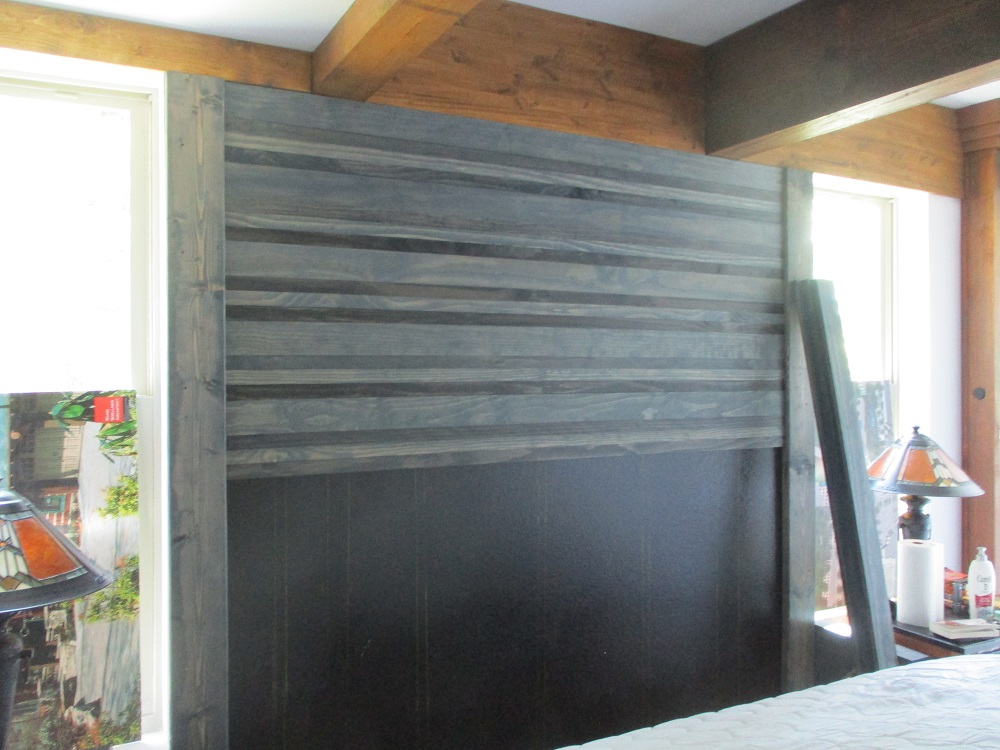
This is the final result (above).
And what follows is how it was done.
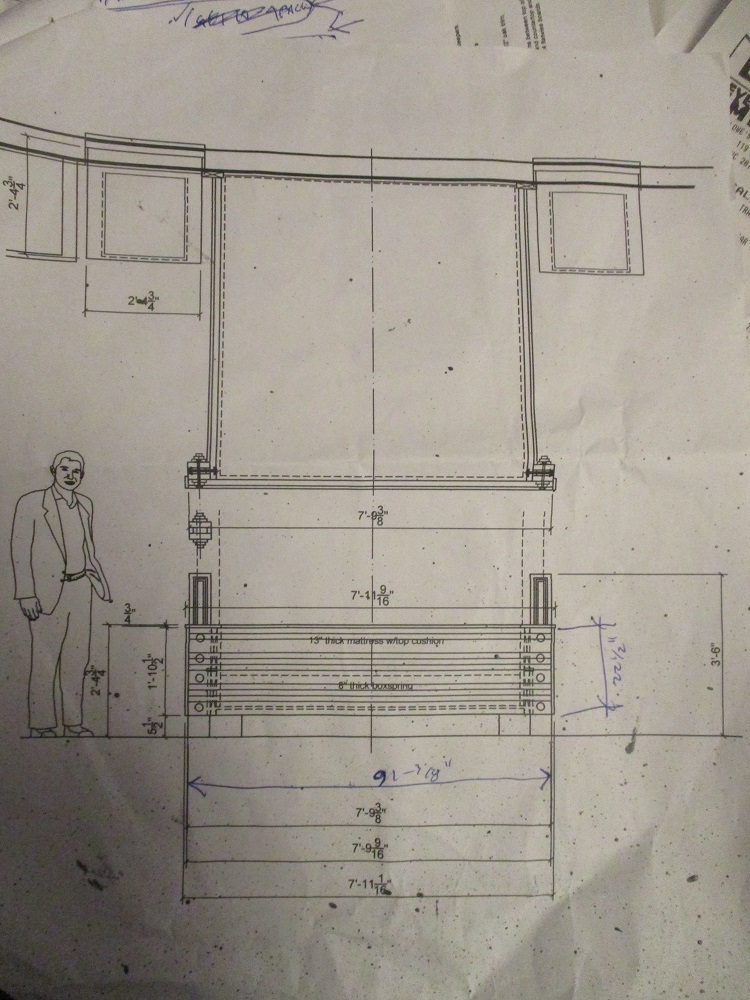
Starting with the Architect’s AutoCad drawings, too-scale, based on the room into which it was to be located:
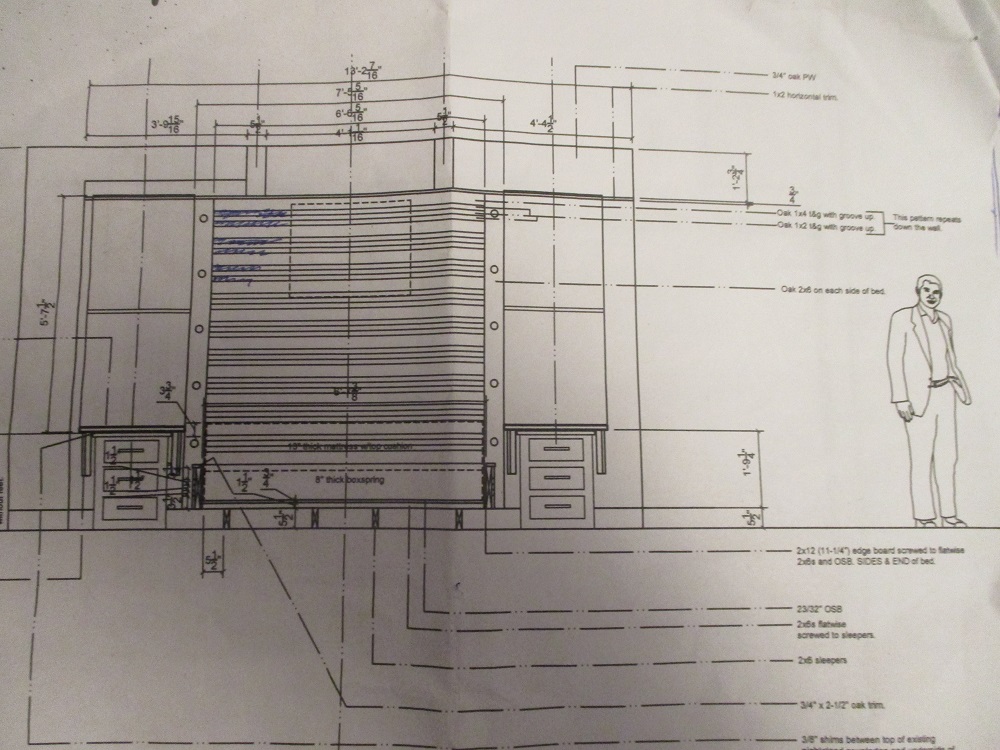
The Architect and his Real Estate Broker wife have owned their existing bed for 12 years. The main bed is a variable twin-control luxury air mattresses with box spring on an okay-quality wooden sleigh bed. Okay, but not commensurate with the award winning home they designed, built and are living in now. So, the Architect decided to design and build a very custom mansion bed, using the existing air mattress and box spring.
Step 1 involved removing just about everything from the existing room.
Then, cleaning.
Then, painting the head wall of the room black, so that any future gaps from shrinkage between wood pieces would not reveal anything.
Then purchasing select pine finish wood pieces and #2 SYP for structural members.
KEY INSIGHT: for a mansion bed, one approach is to use the main wall behind the bed as the headboard of the proposed bed. That makes is much larger than a normal piece of furniture and dwarfs typical beds, hence into the realm of mansion beds. This also pushes the bed about a foot closer to the wall, giving that space back into the bedroom, making the room appear and feel larger.
Also: the room was mainly paint and gypsum board on the walls, with a pre-engineered good-looking prefinished wood floor and a two large wooden beams along the ceiling.
So the Architect first bought, finished and installed 15″ tall 3/4″ thick wood trim along the head wall, in a brown stain matching the 2 beams, and applied over the upper part of the head wall, to finish off the top of the wall, giving it a sort of coffered look. See top portion of top photo.
After the head wall was then painted black, the Architect found 2 select pine 2x6s and stained them gray using a Minwax water based stain, semi-transparent, wiping them down immediately after brushing on the stain, which revealed the wood grain that the brush applied stain at first concealed.
These two vertical gray 2x6s serve as vertical trims to cap the ends of the to-be installed horizontal wood strips in the upcoming steps.
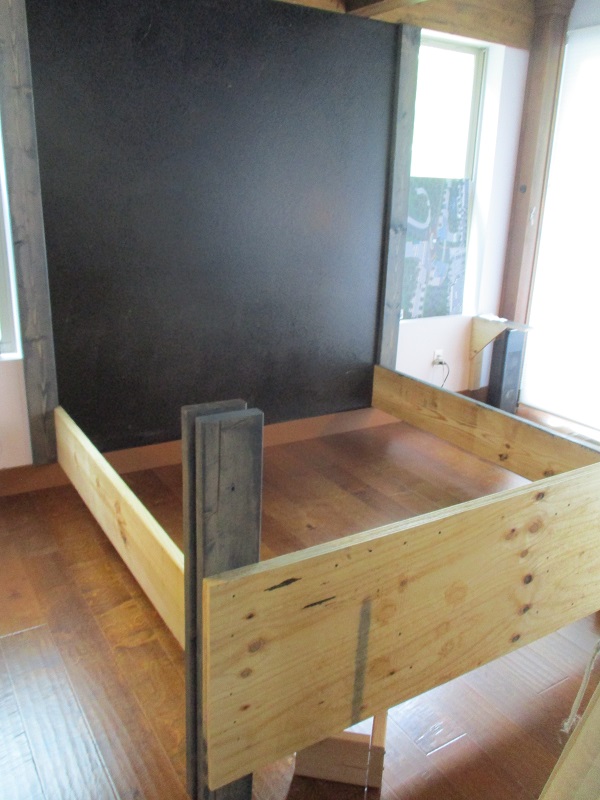
In this next photo (above), you can see the black painted head wall and vertical 2×6 trims and the horizontal (2×12) side boards and footboard (2 layers of 23/32″ pine PW) of the bed. At the left near corner, one of the new dark gray double vertical 2×6 end corner posts is visible. There are 2 footboard corner posts. These hold up the 2 end corners of the bed frame. Bolts were initially planned, then were changed to star-drive screws, which handled the larger structural connections very quickly.
Another view of the initial structural frame of the new bed (above). The vertical 2x6s at the head walls provided a handy place to fasten several star-drive screws, securing the horizontal 2×12 side boards at the level of the top of the baseboard. What you won’t see is the actual platform for the boxspring. That the Architect designed and built using 2×6 sleepers bearing on the floor, screwed to the headwall and the recessed toekick boards around the edge of the new bed. On top of these sleepers, the Architect laid flatwise 2x6s, cantilevered over the edge, with 23/32″ plywood screwed to that.
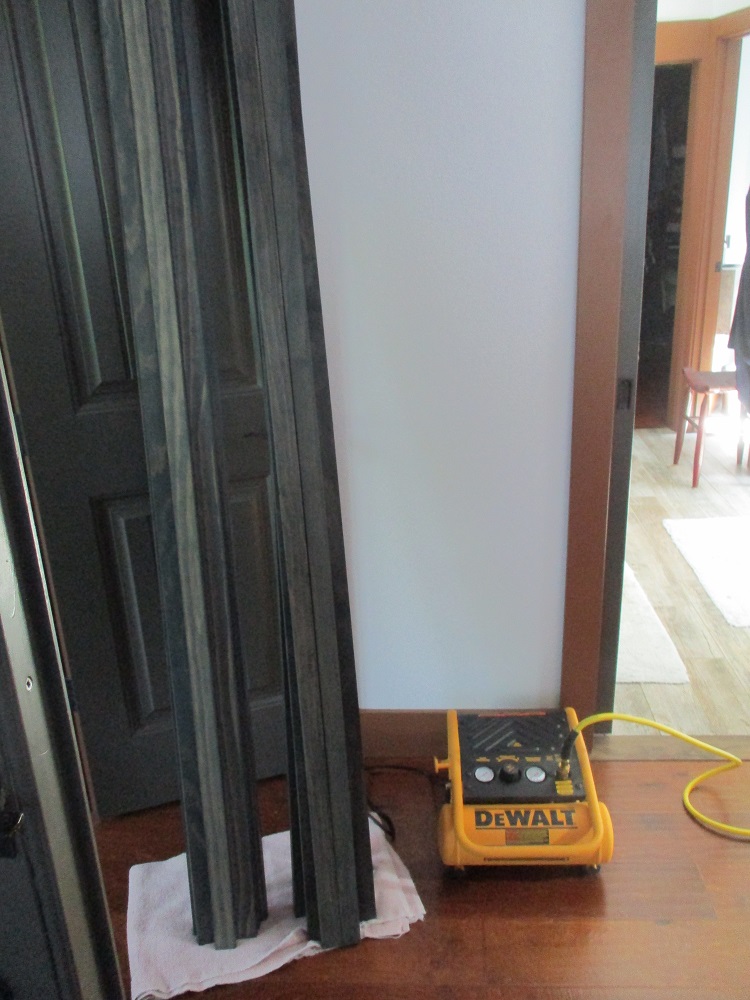
And below are the 1x2s and 1x4s for the horizontal select wood trims, in the garage, awaiting cutting and staining prior to installation on the head wall:
The Architect has both a large Delta table saw and a DeWalt compound miter saw (which he often uses as a chop saw).
Also, there is going to be fairly large gray granite new nightstand countertops, to be supported by plywood triangles and 1×4 and 2×4 struts, secured to the walls.
And below, the stained 1x2s and 1×4 finish strips:
And below: the Architect used a Franklin stud finder to map the locations of the studs inside the wall:
And here the finish wood strips are beginning to be installed:
The Architect and his Real Estate Broker wife worked together to create a wood pattern not seen before on a mansion bed or just about anywhere else for that matter: in this case: gray 1x4s over “black wood” (select pine stained gray initially, then wiped with slightly watered down black acrylic paint and wiped off) 1×2, over gray 1×2, over black wood 1×2 over gray 1×4. The result being a sophisticated rhythm never seen before for an original effect.
SPECIAL NOTE: before the Architect began this project, he decided he wanted to have virtually invisible securement nails. Brads and other finish nails are too large and will split the wood pieces. The Architect discovered the latest technology for 2023: 23 gauge pin nails. There are only a couple of manufacturers. One of them is DeWalt and is HAS to be compressed air driven so that a 2″ long pin can be driven at 100psi into 3/4″ select pine, through 1/2″ drywall, then into another 3/4″ of wall stud to keep it anchored. So the Architect ordered and obtained a new DeWalt compressor, air hose and 23 gauge pin nailer. As you can see (above) the pins are pretty much invisible. In other words: it is just as important for the Architect to control the means of attachment as to what is being attached, to maximize the positive appearance.
Below are the 2 old nightstands being refurbished in the Architect’s workshop in his garage:
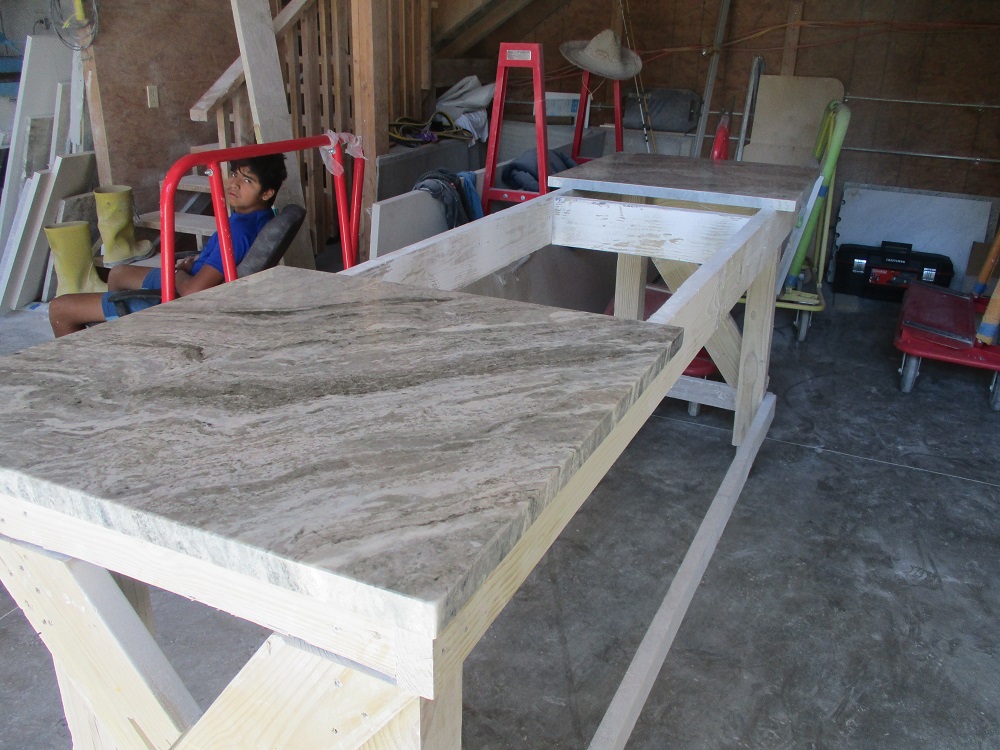
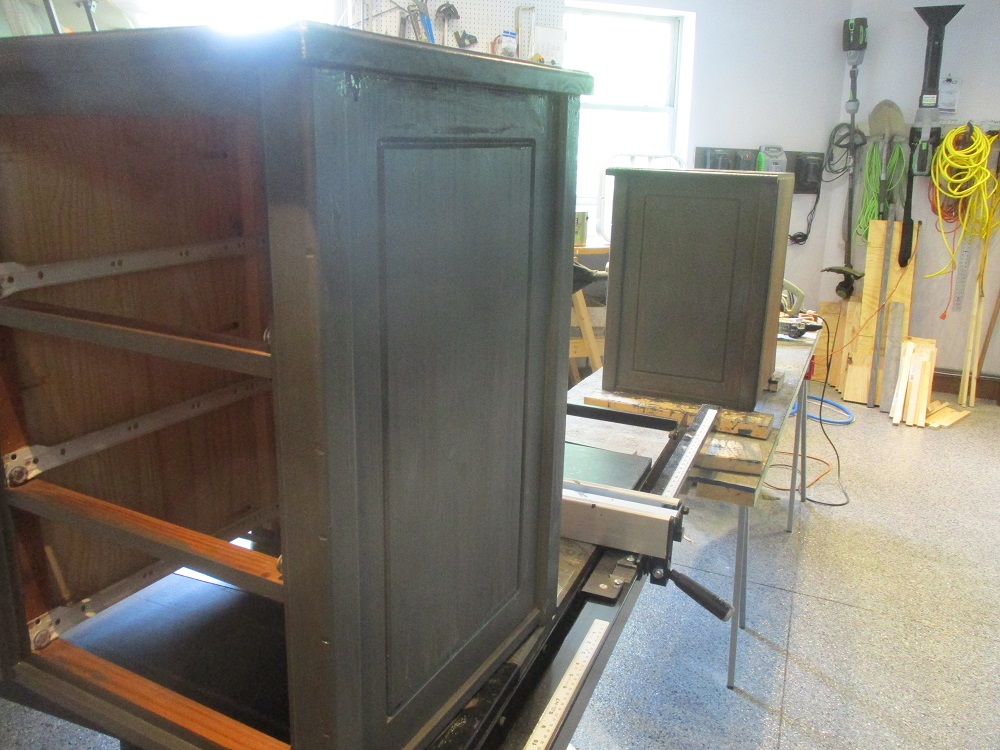 And the 2 granite slabs being obtained at the Mountain Stone warehouse and workshop:
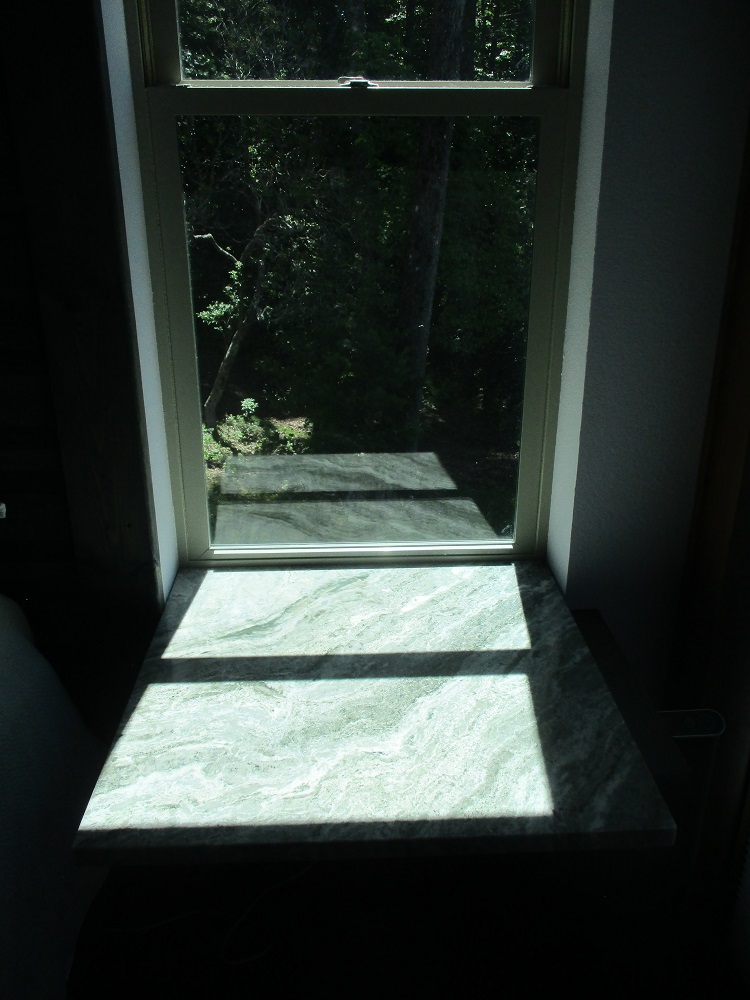
And the installed slabs (note: each slab weighs 100 pounds).
Below, you can see one of the triangular struts to the right side of and under the left granite countertop slab above the renovated nightstand. Note: the granite slab had to be supported independent of the nightstand, so the nightstand could be easily moved to give access to the electrical outlets behind and to the left of it.
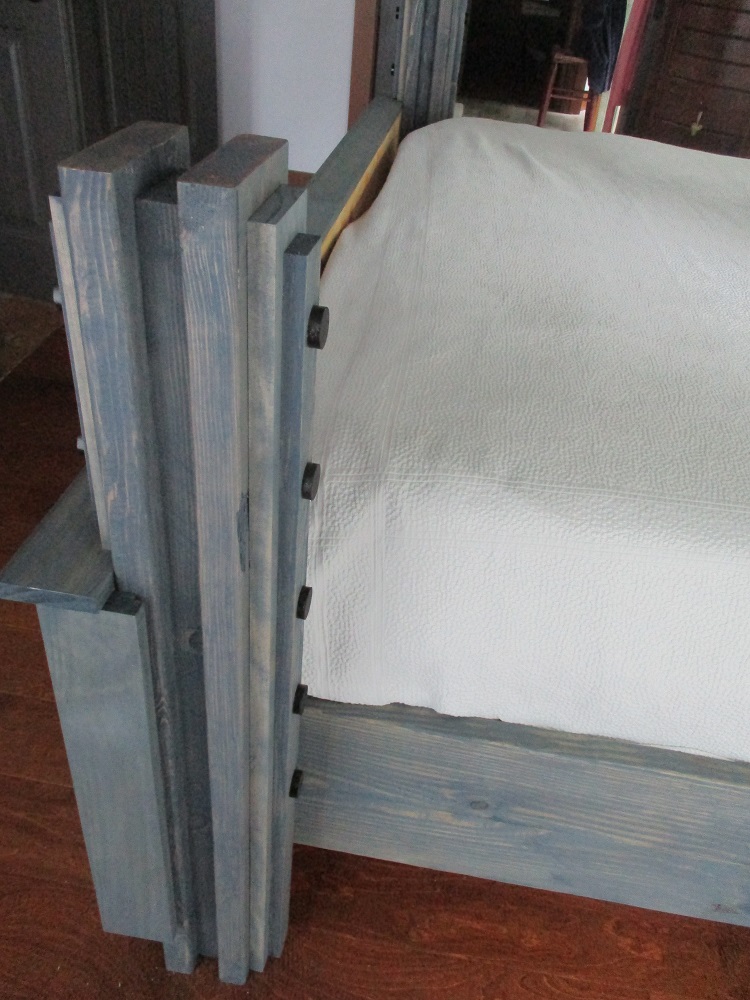
Below, are some detail shots during the construction of the footboard support posts:
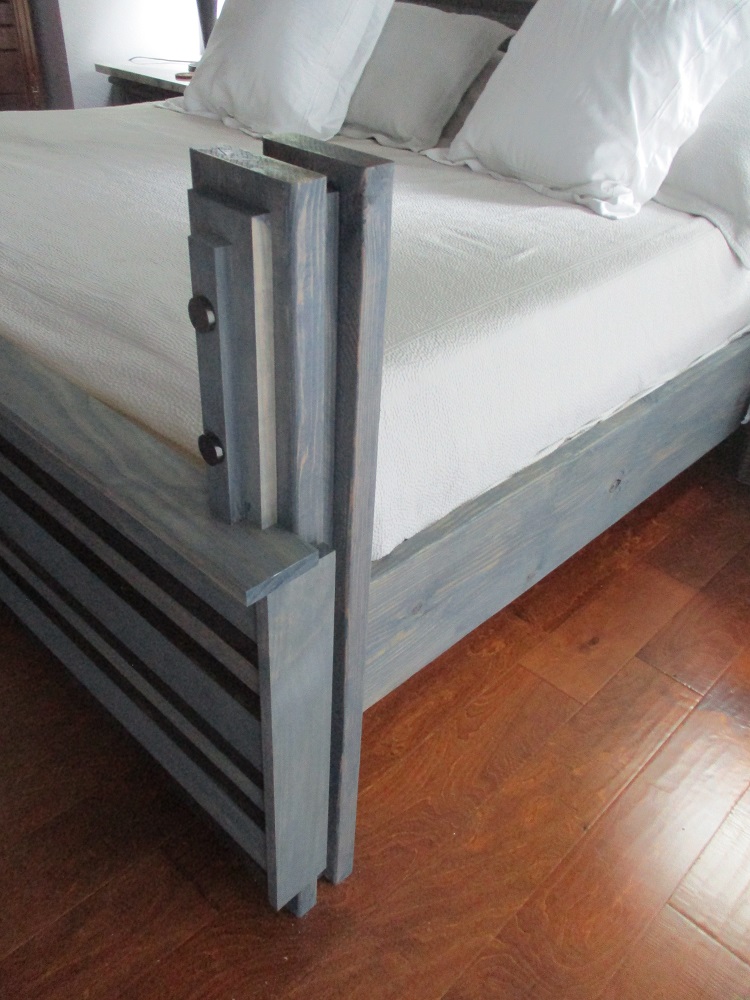
 And more shots of this support post:
And another photo illustrating how the black dowel faux tension ties mimic those at the headboard, unifying the aesthetics to become one entity.
It is important to have the materials, colors and details of the footboard be nearly identical to those at the headboard, to complete the illusion that this is one large bed. In reality, we know that this is merely a fancy wall, with the bed attached to it, designed to resemble a large headboard. In this instance, the design and construction was successful and the illusion complete.
COSTS: $1,925.15 (material & tax, not including labor)
Framing lumber: $336.08 Lowes.
Finish wood: $509.4 Lowes.
DeWalt pin nail gun and compressor: $425.22 Home Depot via Internet.
Stain: Minwax $55.08 Lowes.
Sealer: $24.33
Granite slabs: $575. Mountain Stone (Cashiers).
————————————————————————-
$1,925.15
Note: the labor on this would easily have been around $4,000 (or more) if a professional furniture maker or cabinetry shop would have been engaged. It took the Architect 2 weeks, off and on to do this project, including selecting, ordering and picking up materials in his pickup truck. So the grand total price might have been around $6,000+/- (not including the owner’s bed).
It’s interesting to know that some Architects of fine custom homes have the capability to designed special features like Mansion Beds for your house.
Below was the near-final result.
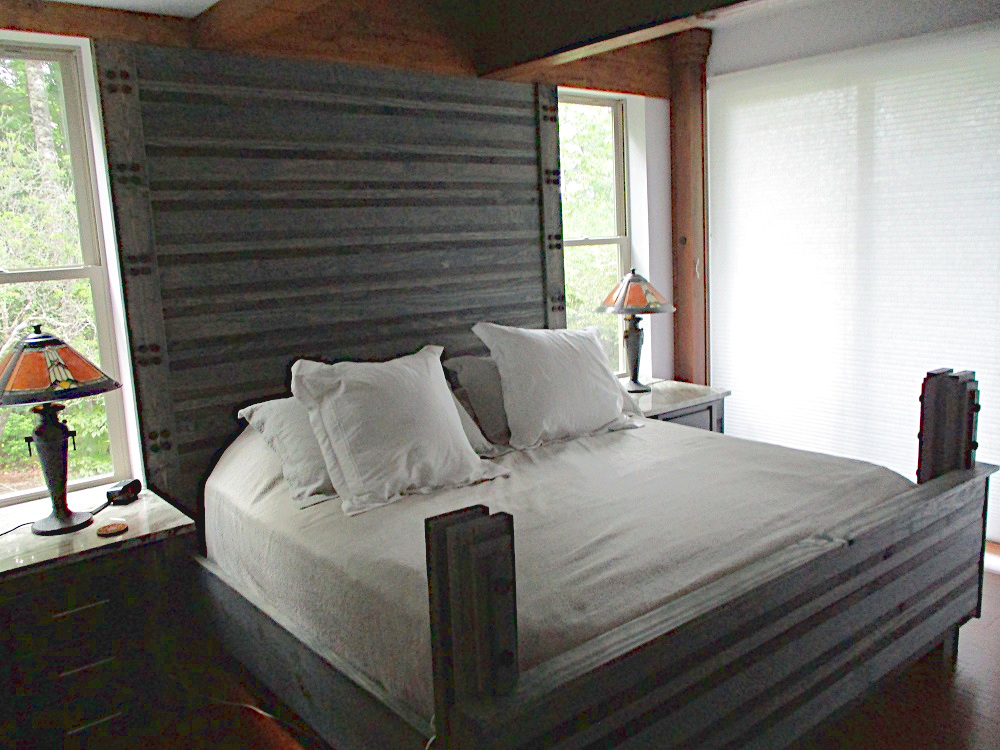
However, both the Architect and his real estate broker wife decided to make a few other improvements (see below).
Below is the actual final result: with the custom commissioned art by Hilary Winfield Fine Art, and new lampshades and Levolor up-down cellular blinds, and additional gray decorative pillows.

